Business Owner Guide
For Bharath: the one-time, workspace-wide settings that get SPP’s environment ready, then your own profile and Persona.
Workspace setup
Business OwnerBusiness information and workspace-wide MFA
Keep the company details (name, address) current, and turn on Force Multi-Factor Authentication to require MFA for everyone in the workspace, not just your own account.
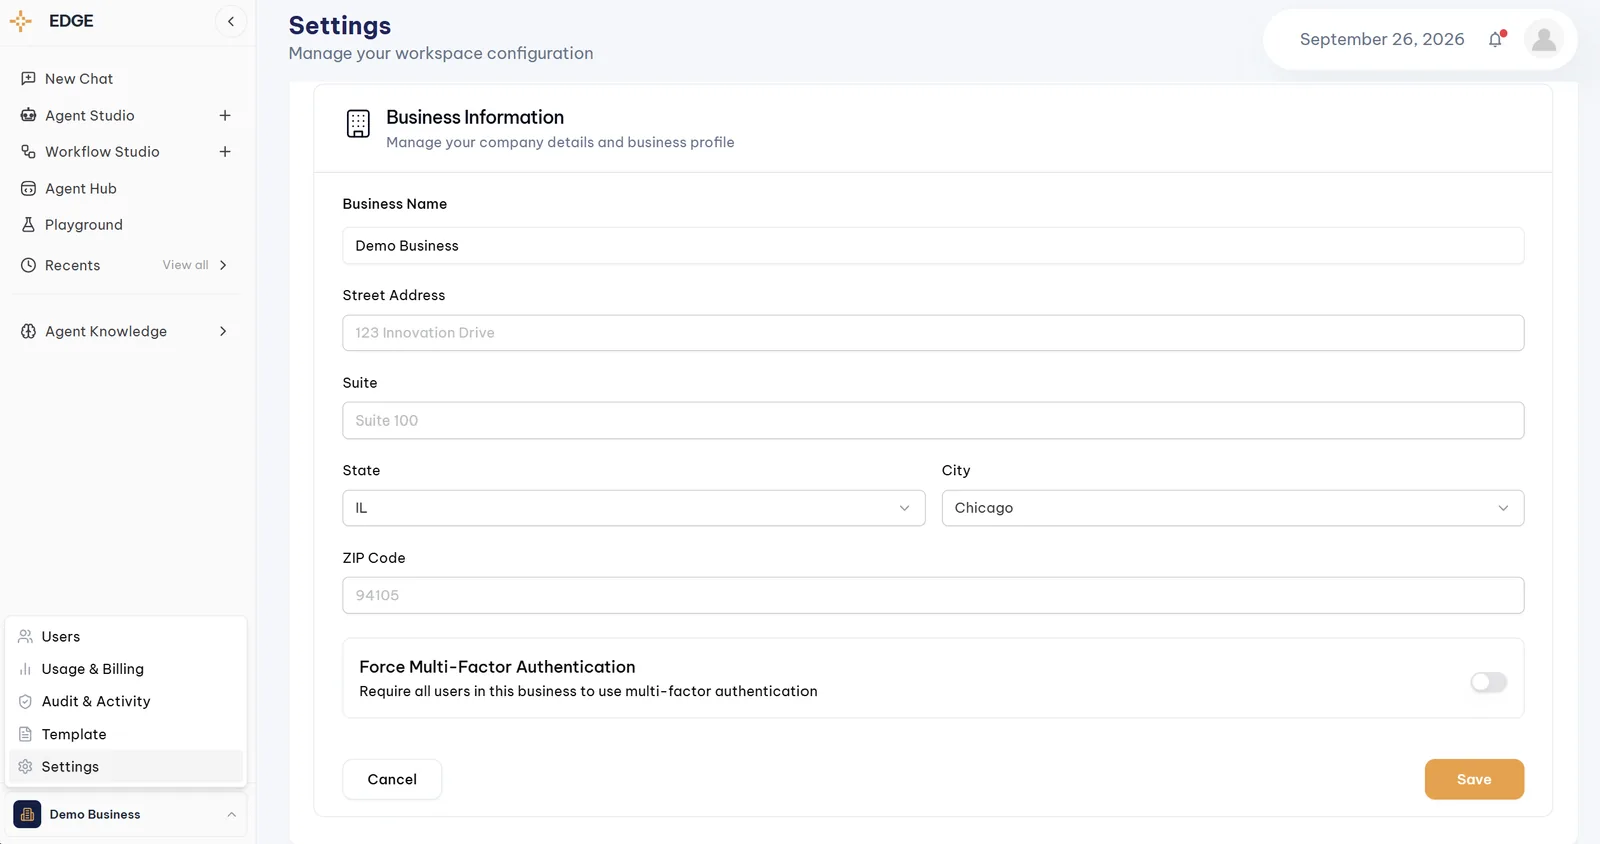
Organization menu (bottom left) → Settings → Business InformationDepartments
Departments reflect SPP’s business structure. They provide a scalable way to make the right agents available to the right business teams: in Agent Studio, an agent can be shared with a department, so groups such as Finance, Dealer Success, or Ops get the agents relevant to their work.
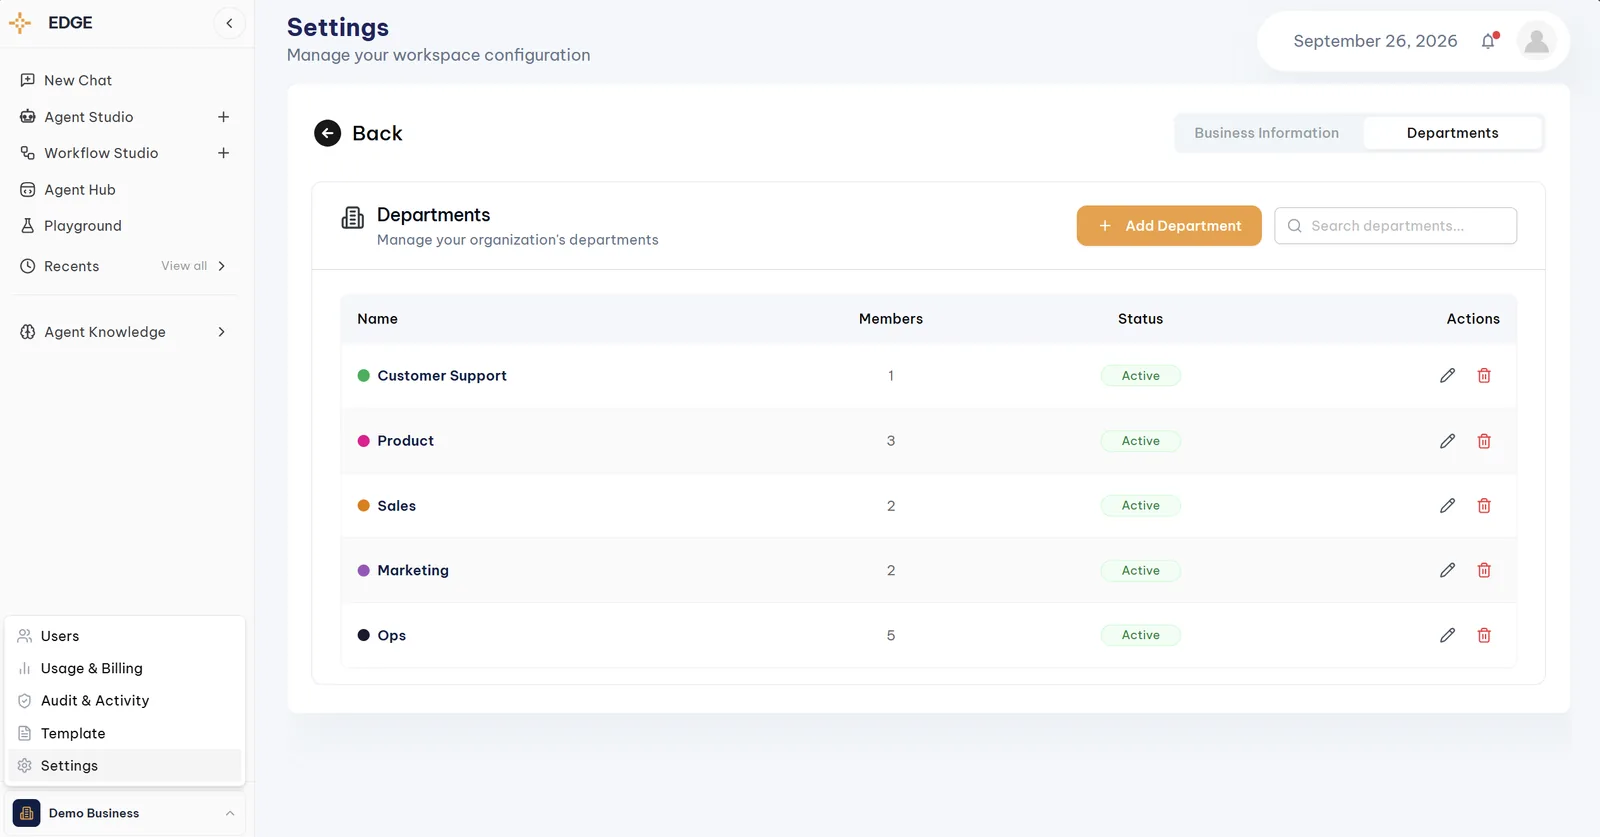
Organization menu (bottom left) → Settings → DepartmentsWorkspace connector availability
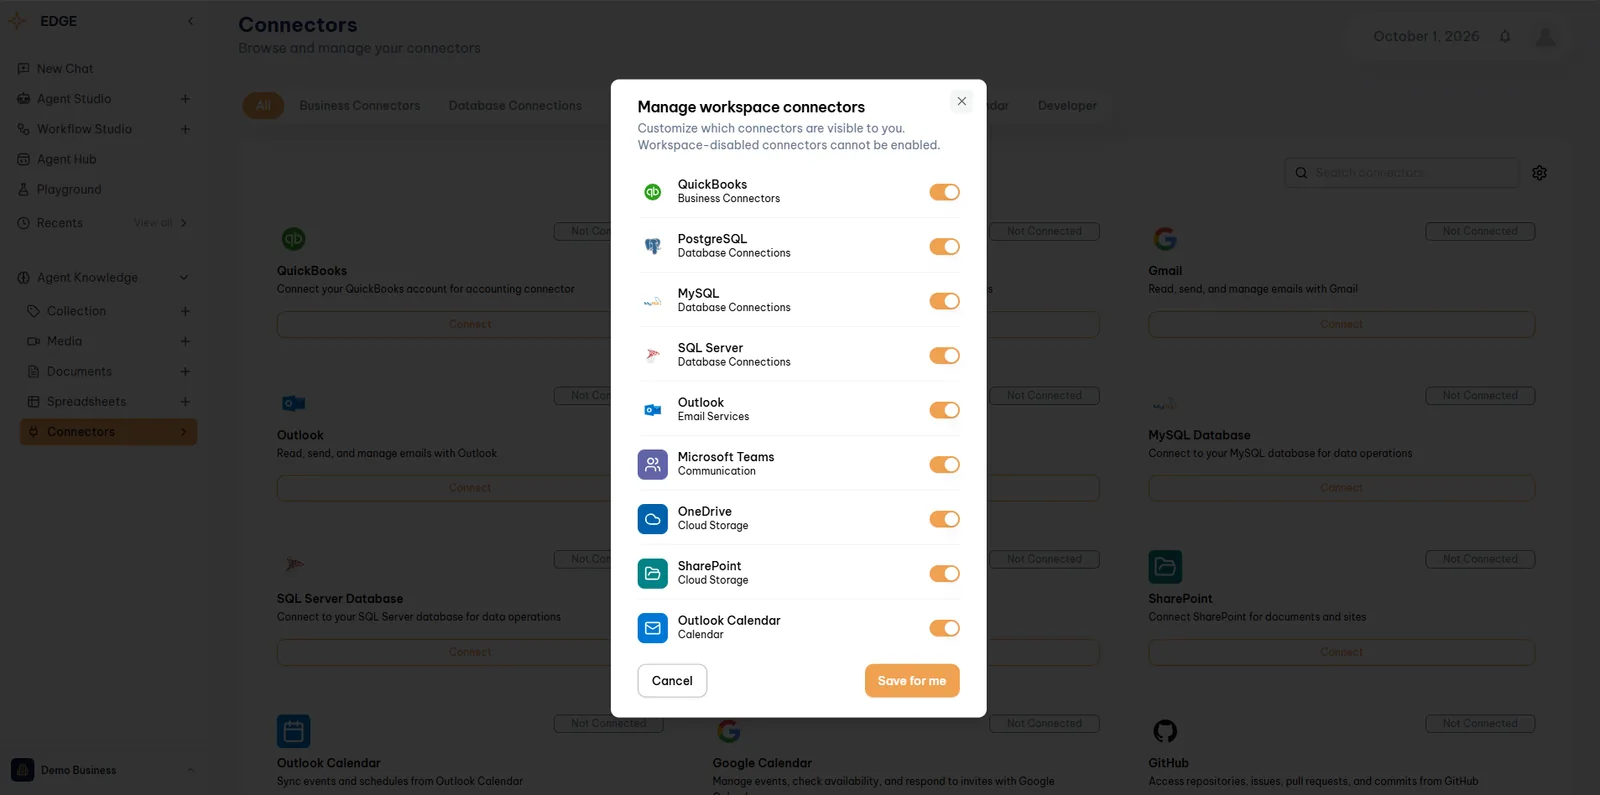
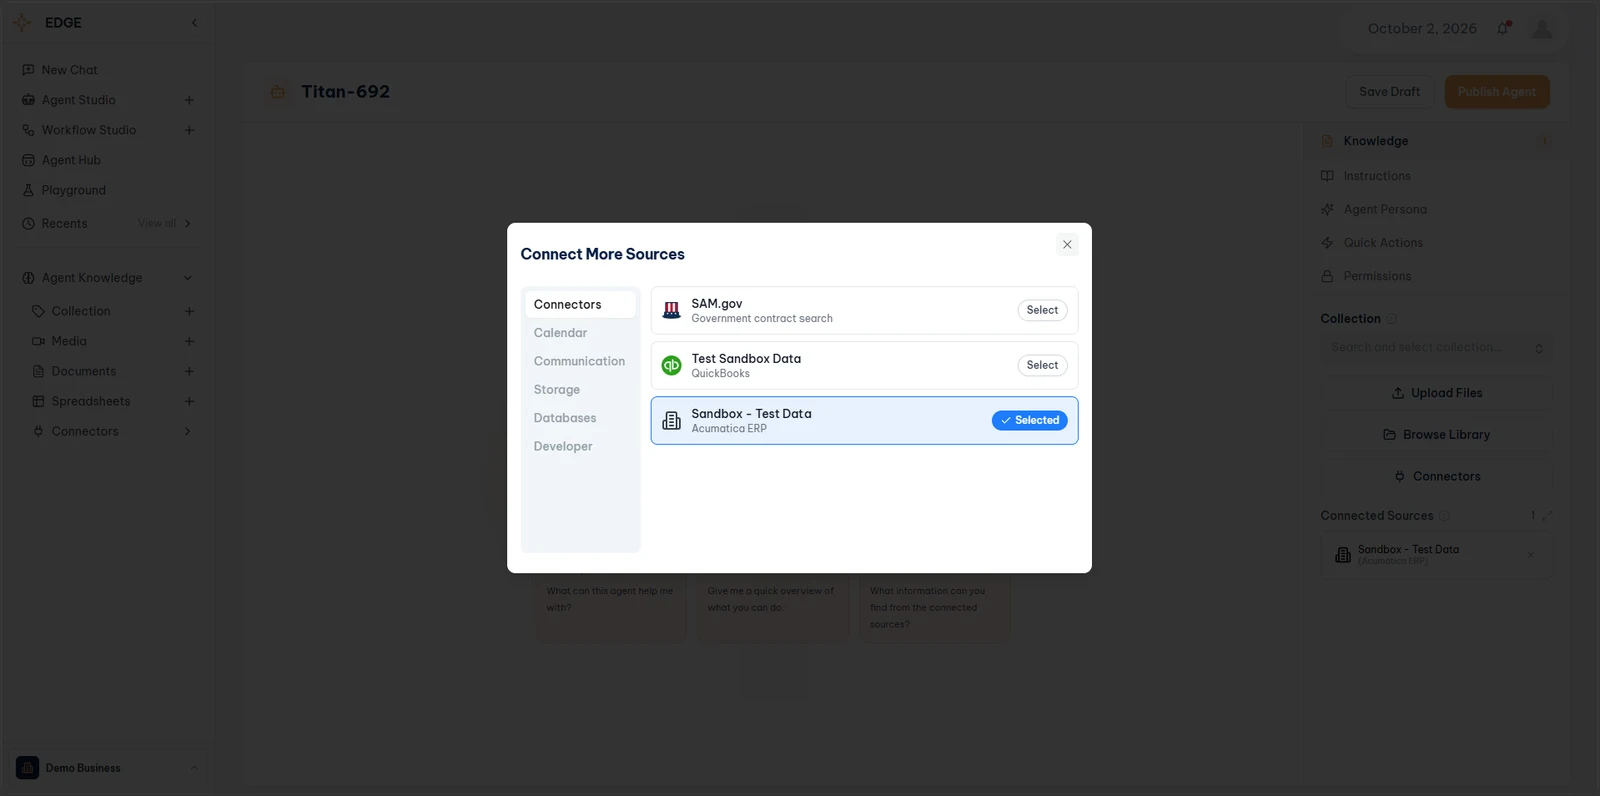
The gear icon next to the connectors search bar opens Manage workspace connectors. Connectors enabled here are visible to eligible users and can be connected as needed. Users can later hide connectors they do not use, while connectors disabled at the workspace level remain unavailable.
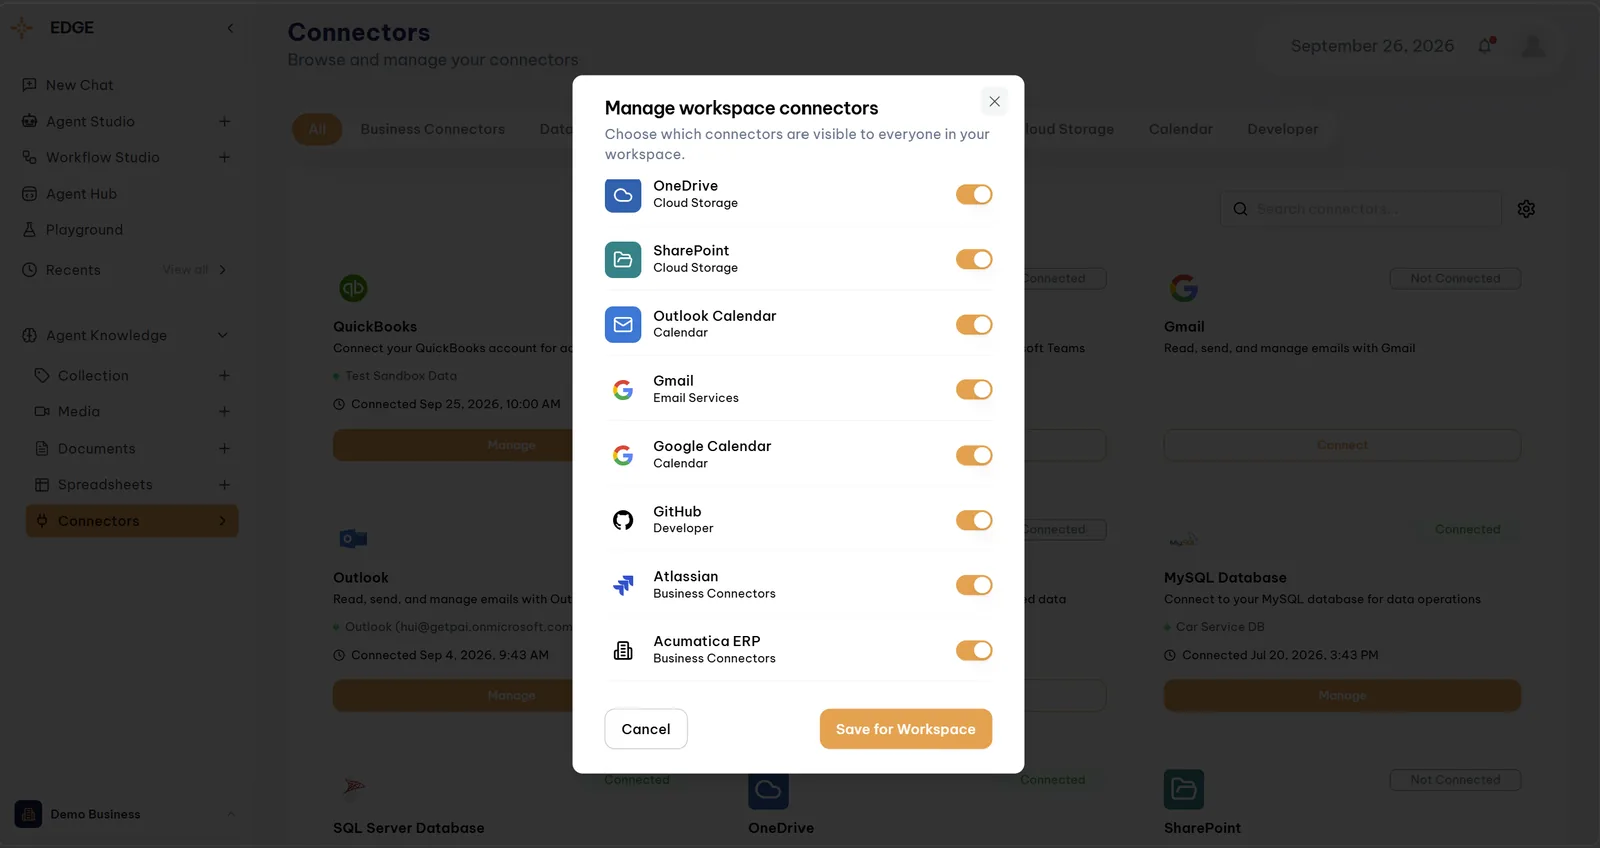
Agent Knowledge → Connectors → gear icon → Manage workspace connectorsInvite your team
Invite people individually or onboard multiple users at once using the provided CSV template, assigning each a department and role (Manager, Admin, or Member). Further role or organization changes are decided by Bharath and Miguel together.
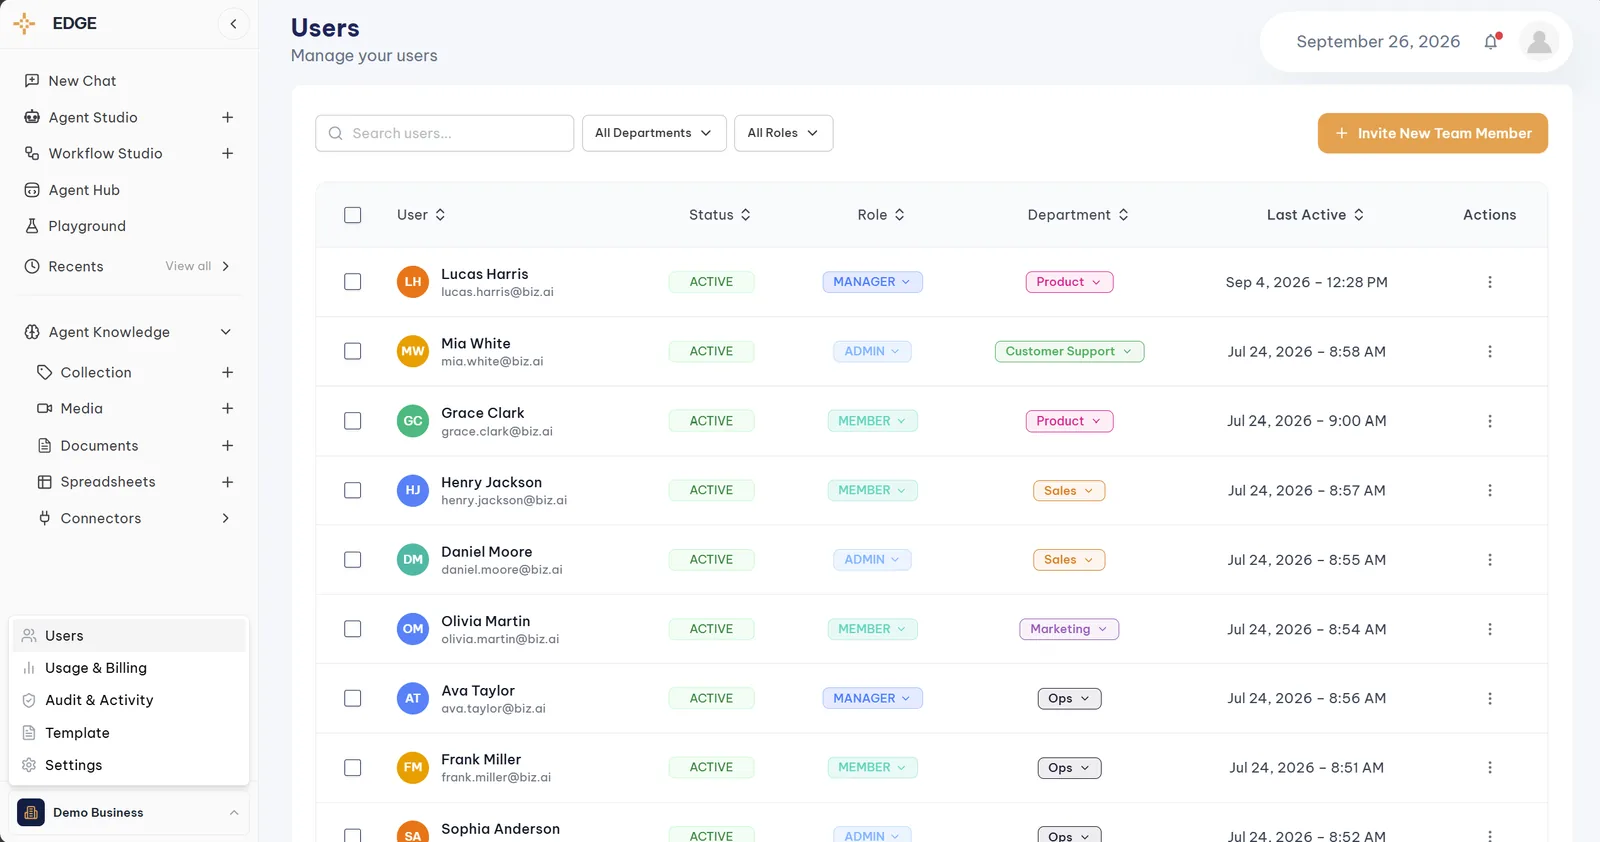
Organization menu (bottom left) → Users → Invite New Team Member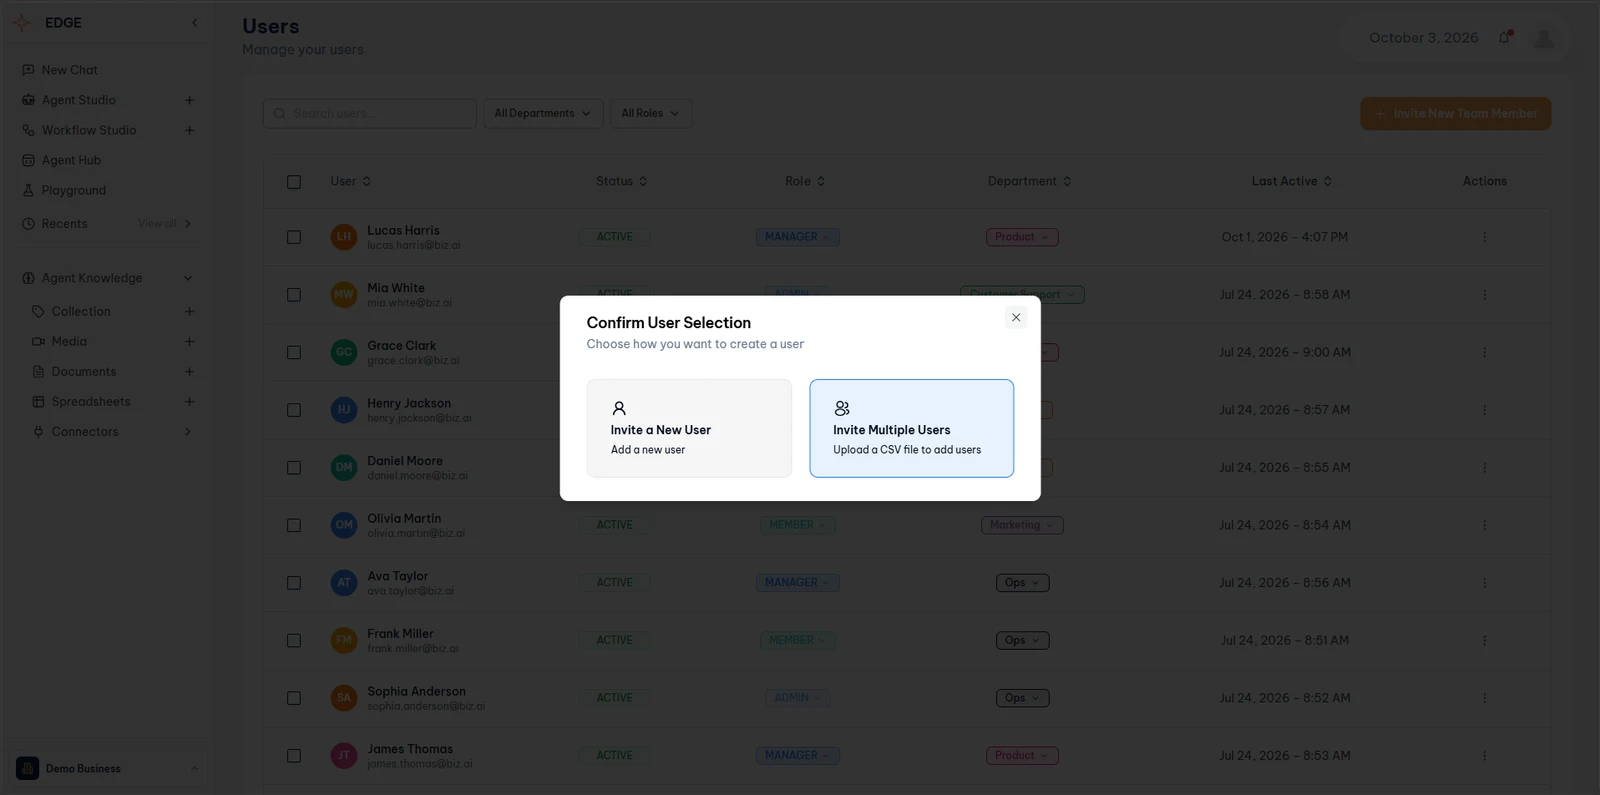
Billing
Payments are currently handled through invoices, so this step is optional. If SPP prefers to pay by card, a credit card can be added here as a payment method.
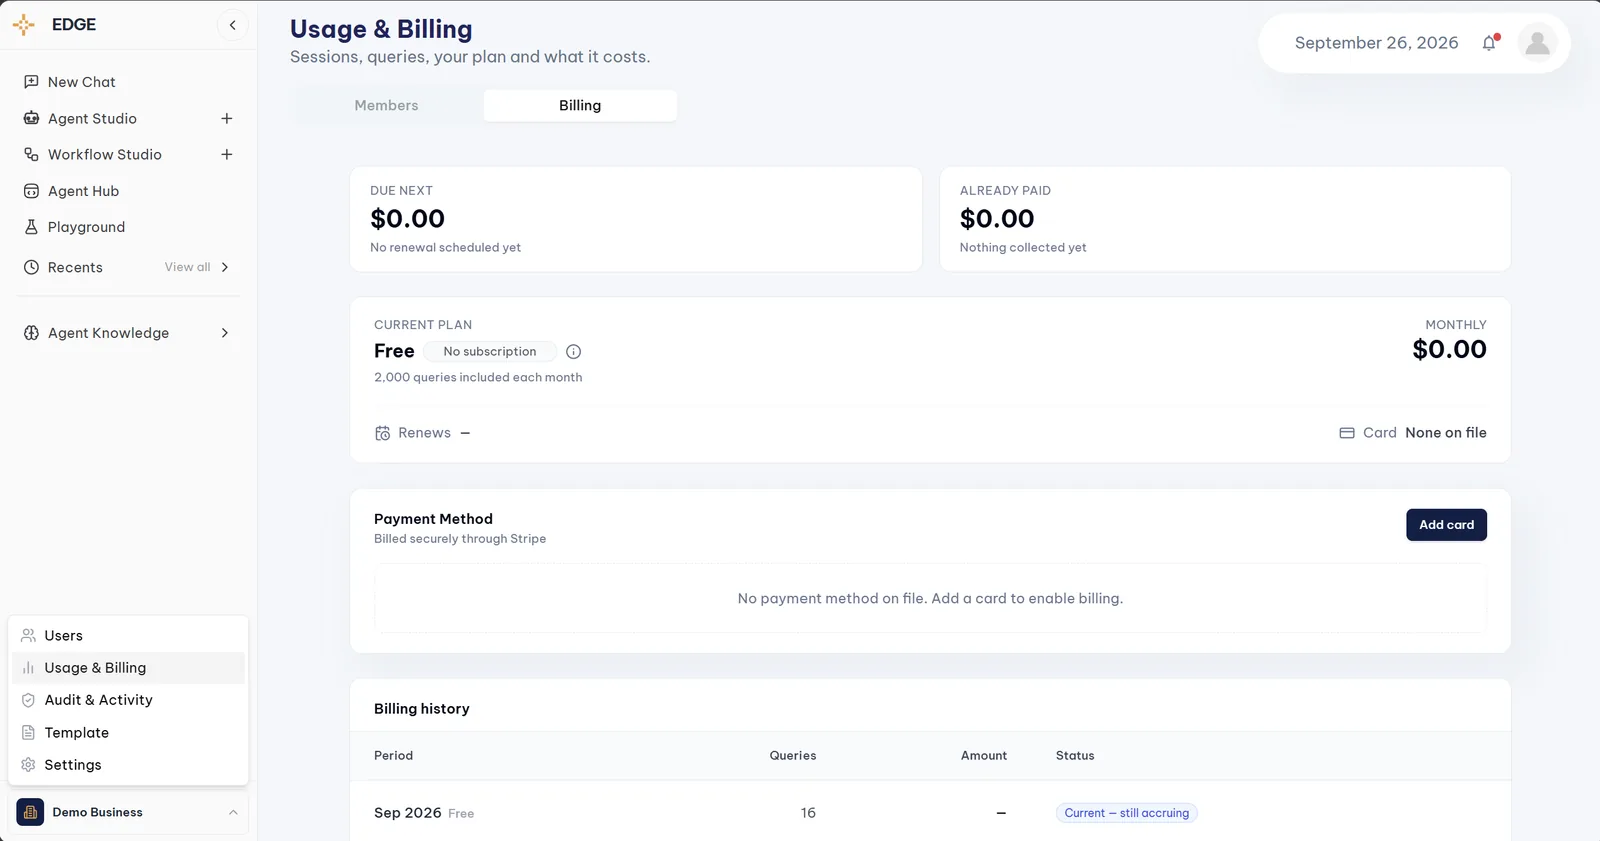
Organization menu (bottom left) → Usage & Billing → BillingCompany template
Set the company’s standard Word and PDF template: logo, header colors, contact info, and an optional footer disclaimer. Every document a workflow or agent generates uses it automatically. Do this before WF1 starts producing real statements, so its first real output already looks right.
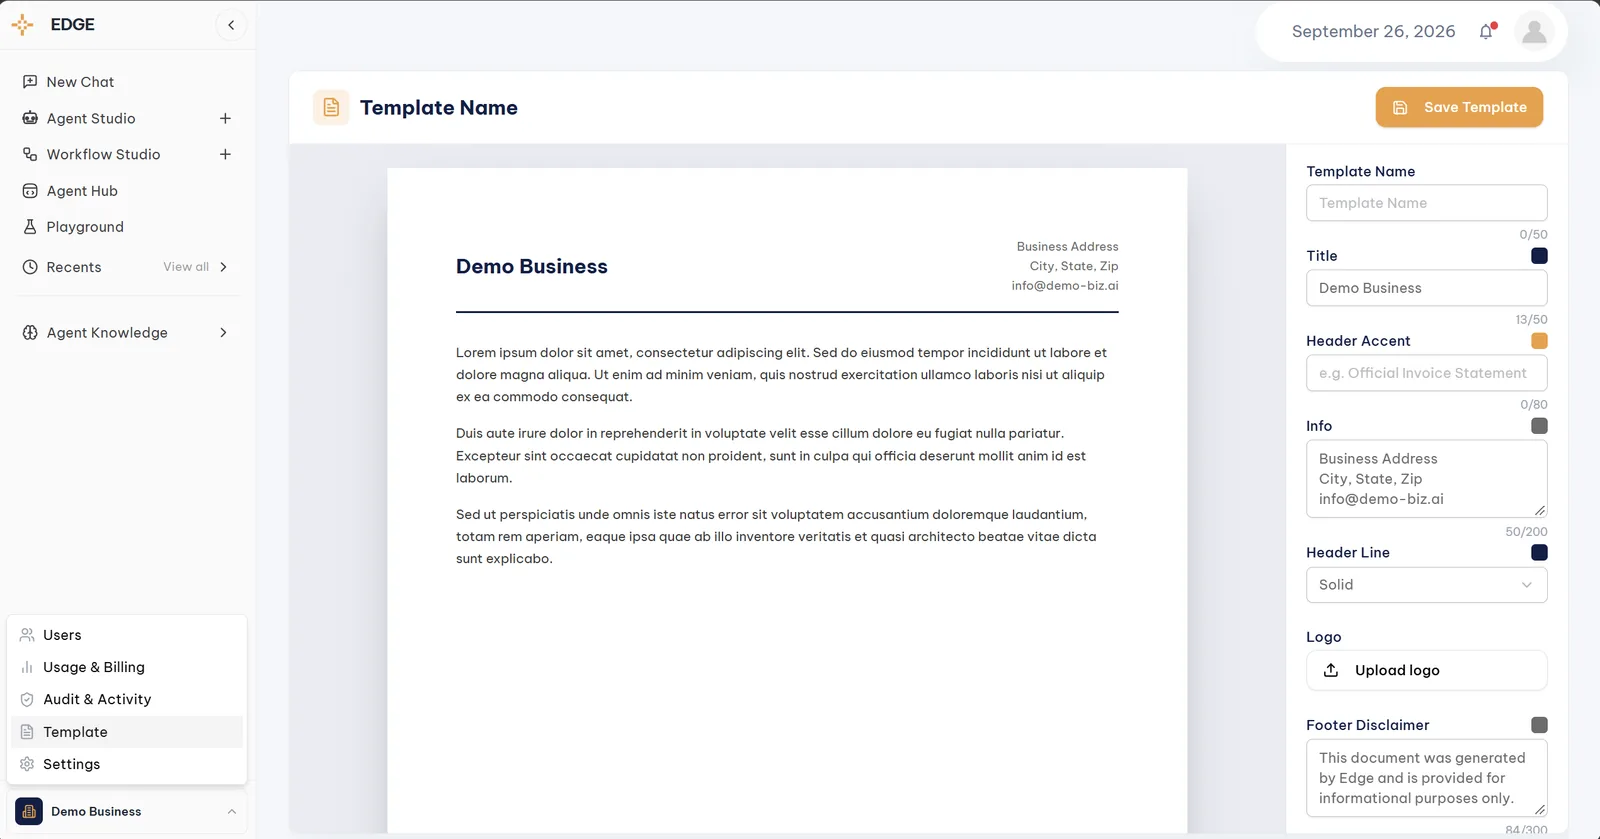
Organization menu (bottom left) → TemplateMonitor workspace activity and agent usage
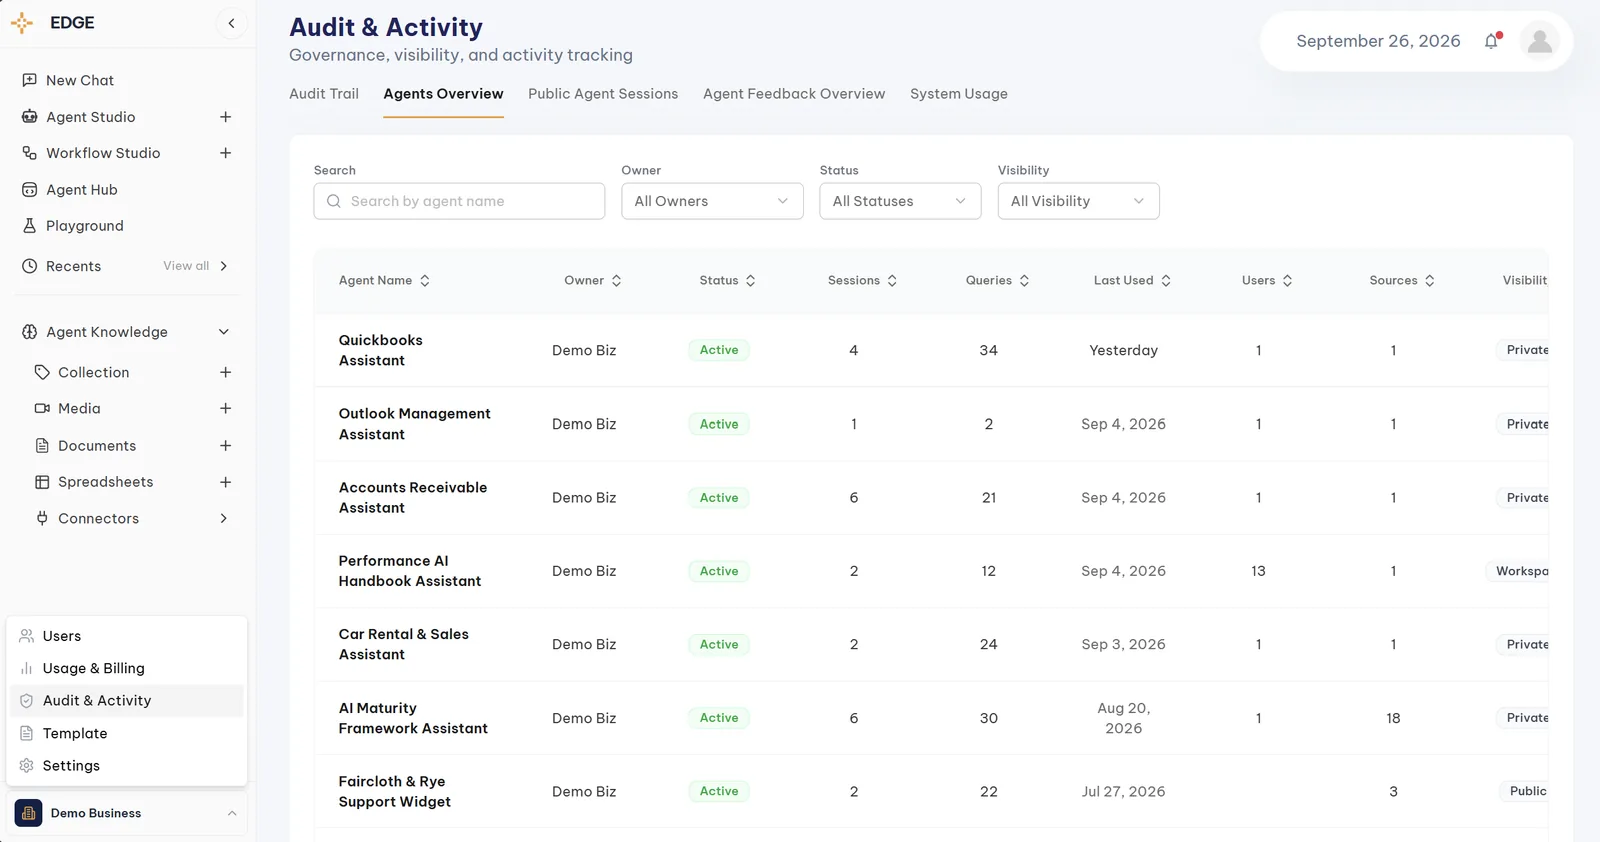
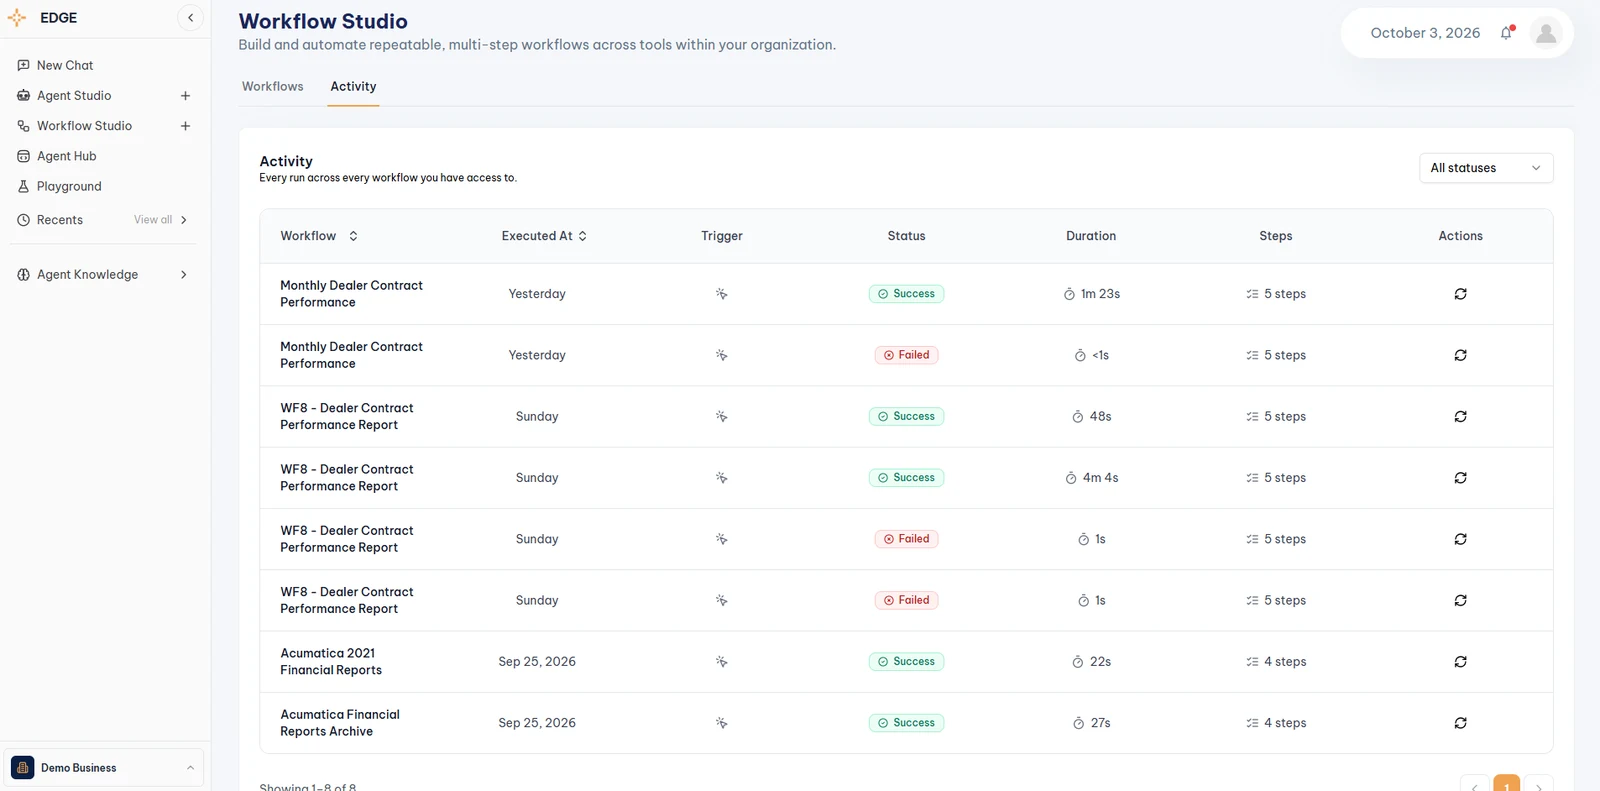
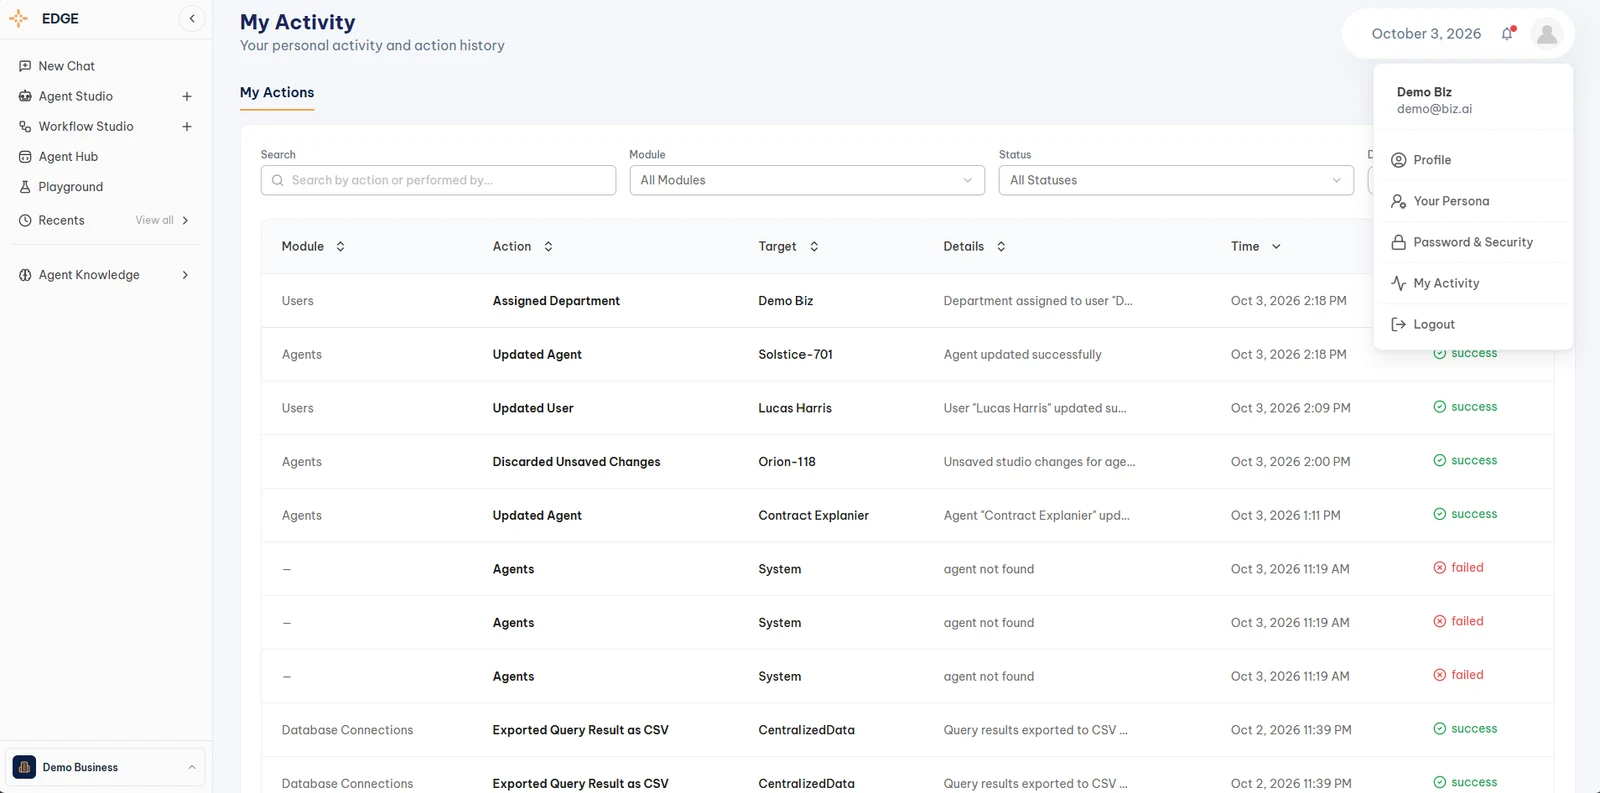
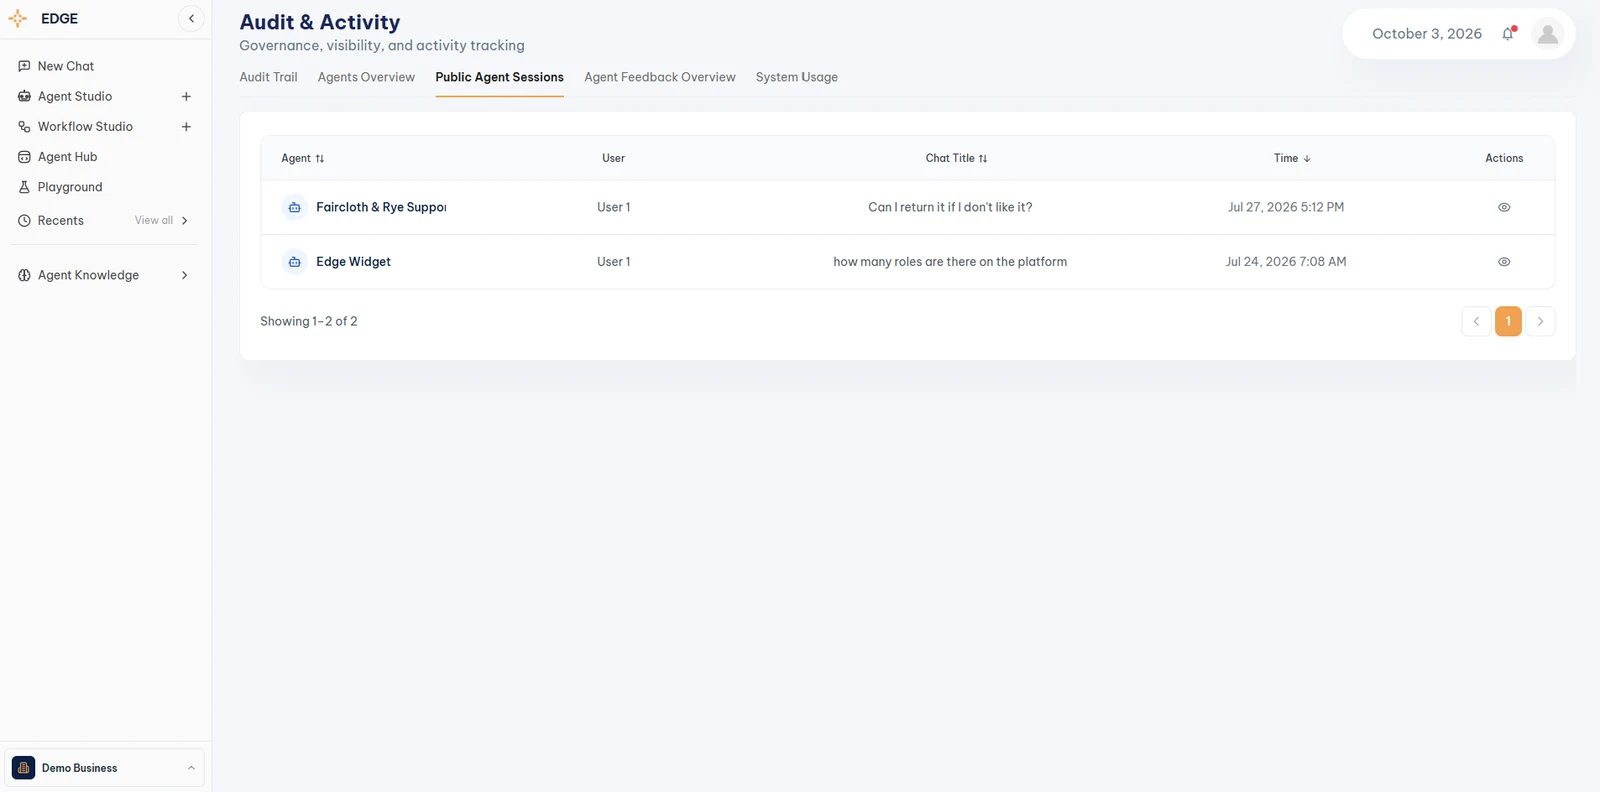
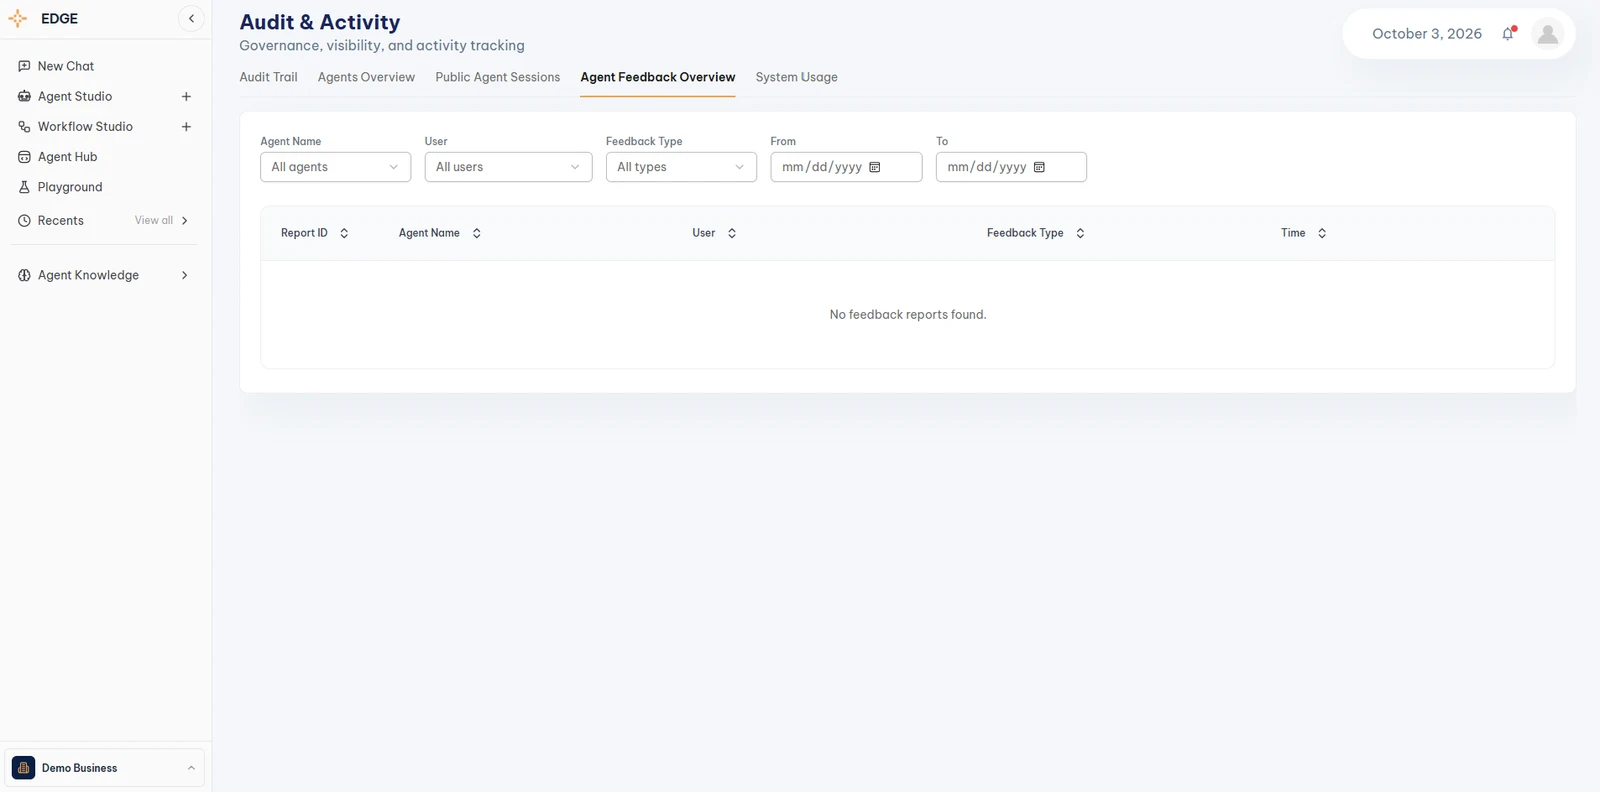
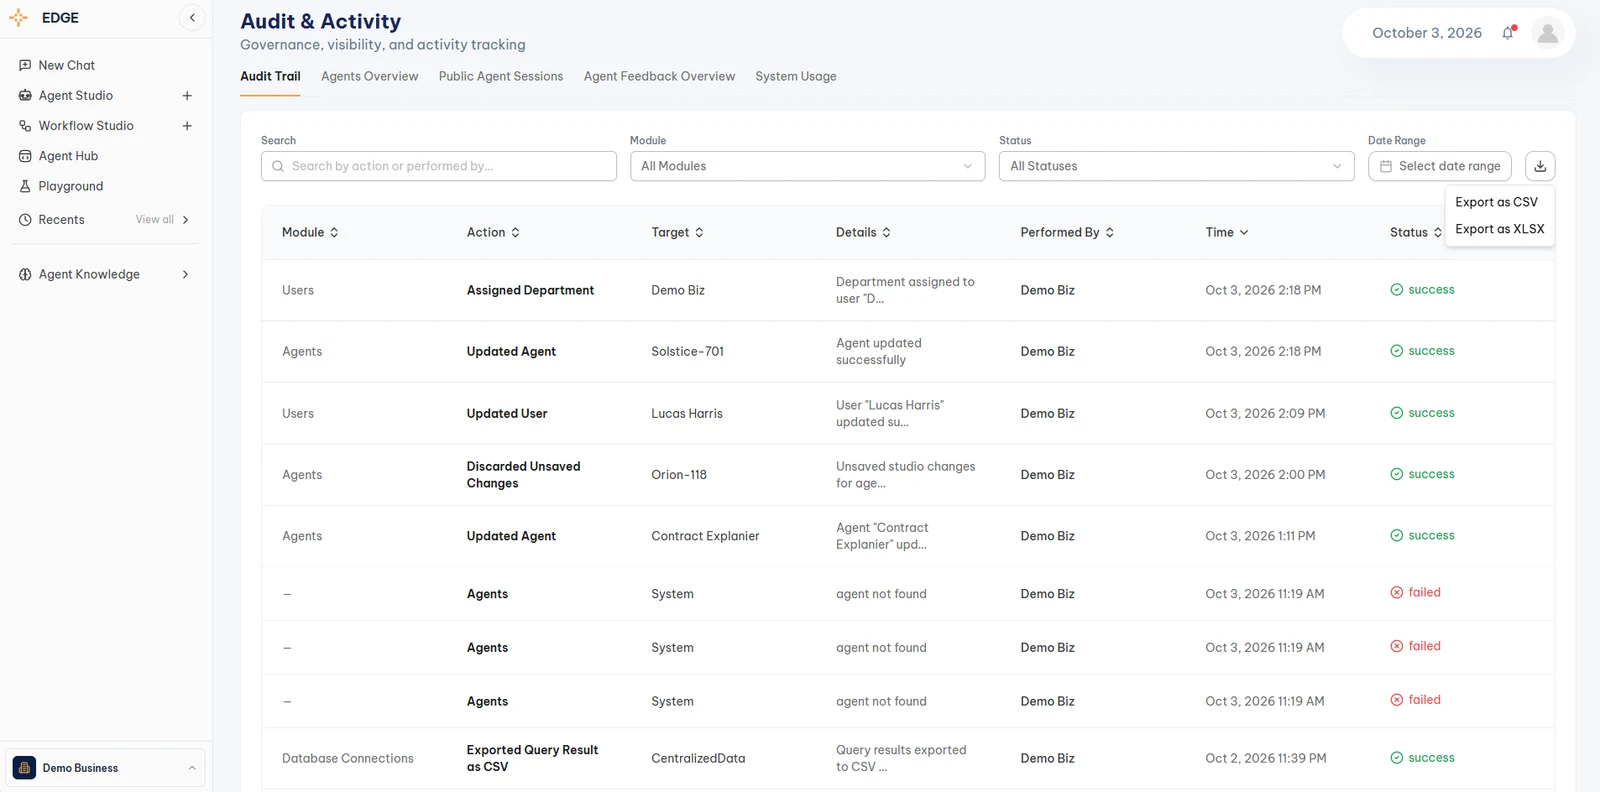
Business Owners and Admins have workspace-wide visibility into agents, connected sources, usage, and audit activity. They can review who created or changed what and track how agents are being used. Business Owners can also pause agents when needed.
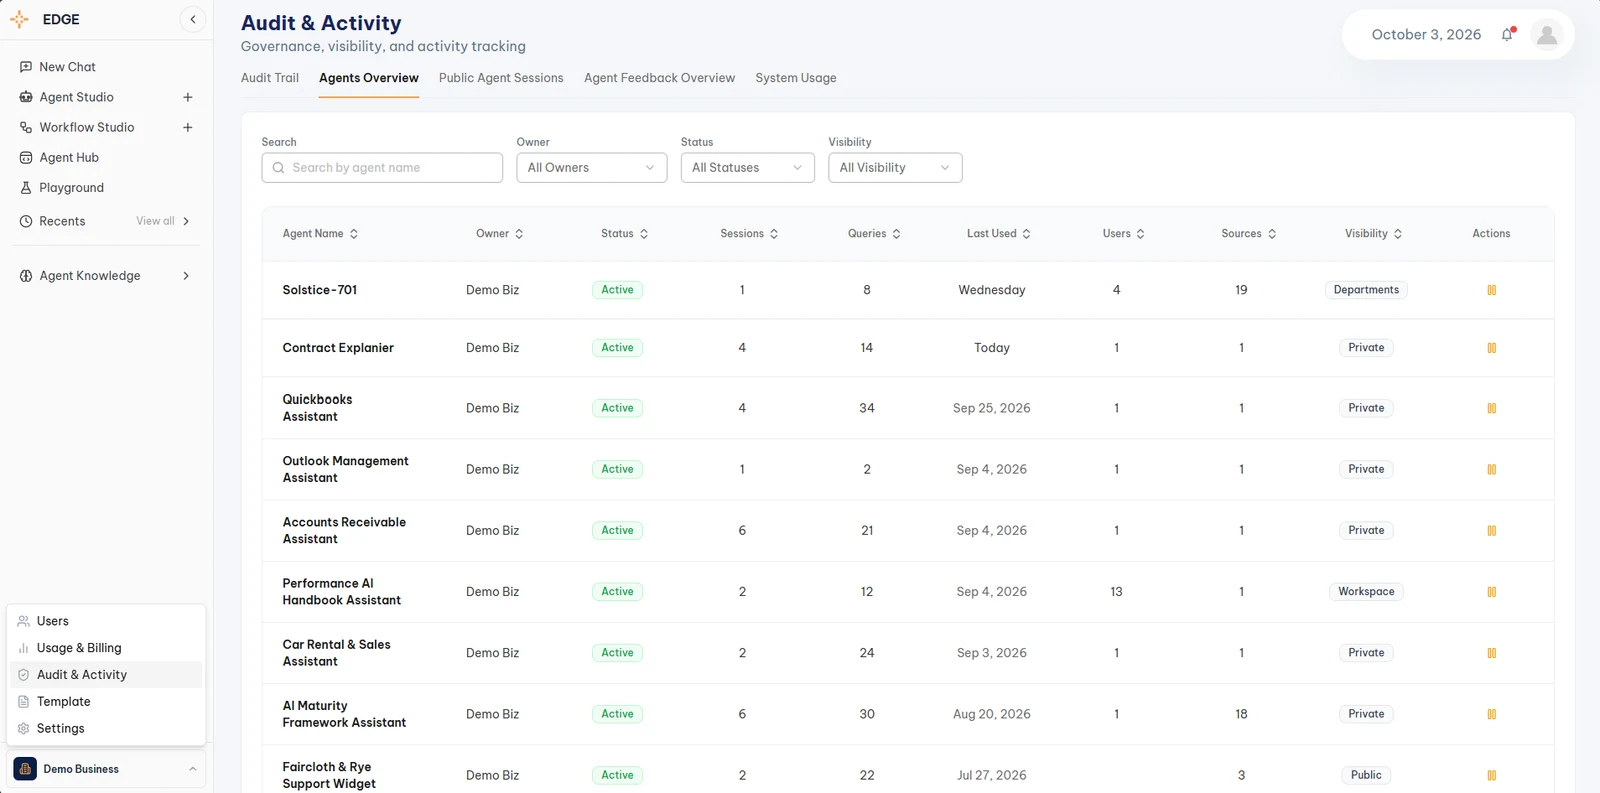
Audit & Activity → Agents OverviewSelect an agent to open its detail view. It shows the agent’s owner, status, and visibility; its sessions, queries, and last active date; and expandable lists of its users, sources, and 10 most recent questions. Together with Agents Overview, this gives Business Owners and Admins full control and visibility across the workspace’s agents and usage.
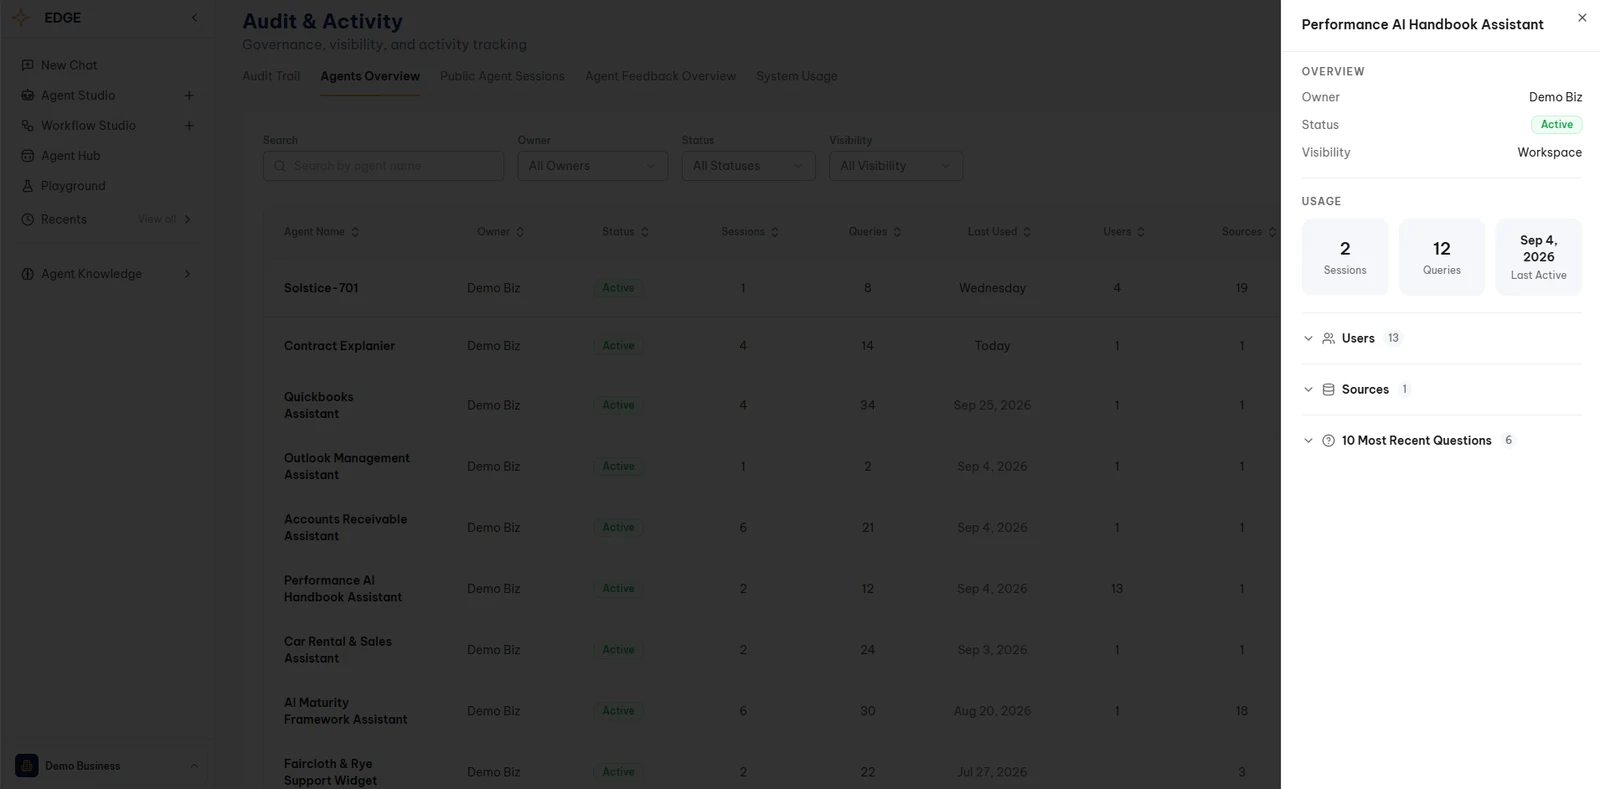
Audit & Activity → Agents Overview → select an agentNote
Only the Business Owner can pause agents, using the pause button in the Actions column.
Personal setup
Every userComplete your profile
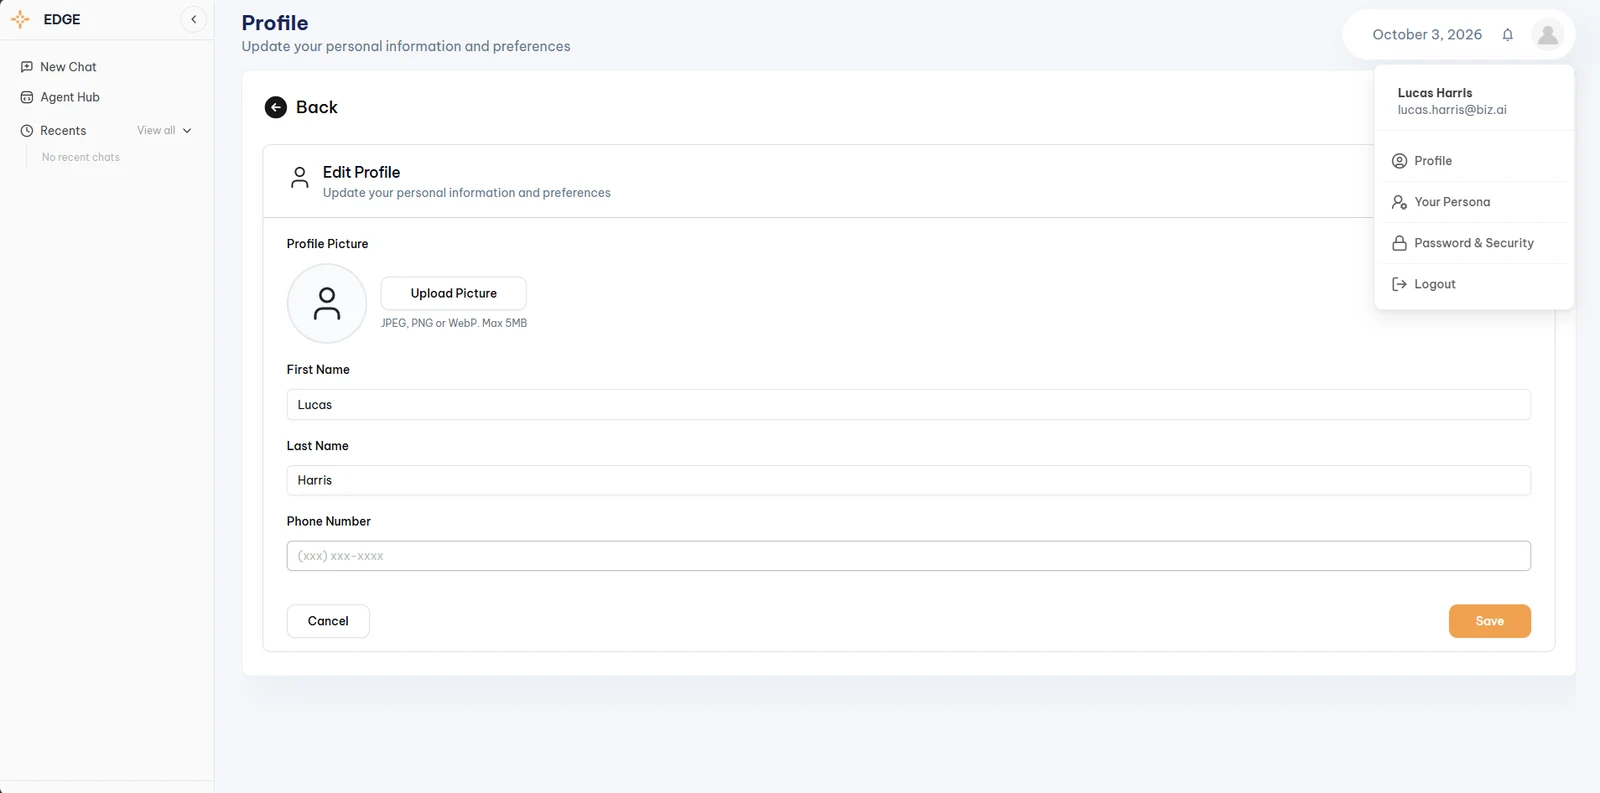
Add your profile picture, first name, last name, and phone number so your details are correct across the workspace. Pictures can be JPEG, PNG, or WebP, up to 5 MB. Select Save when you are done.
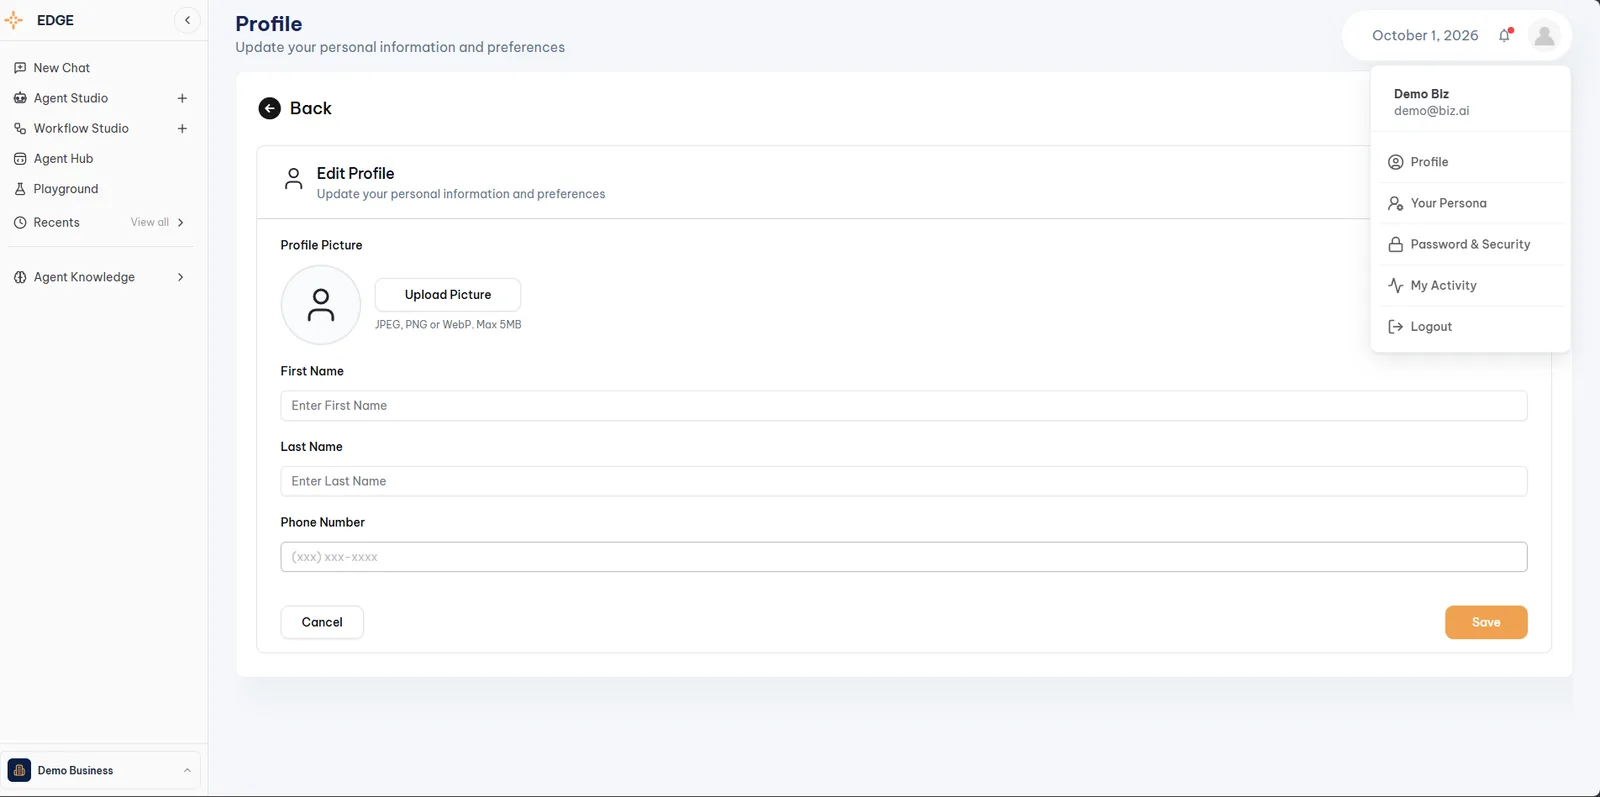
Avatar (top right) → ProfileSet up your Persona
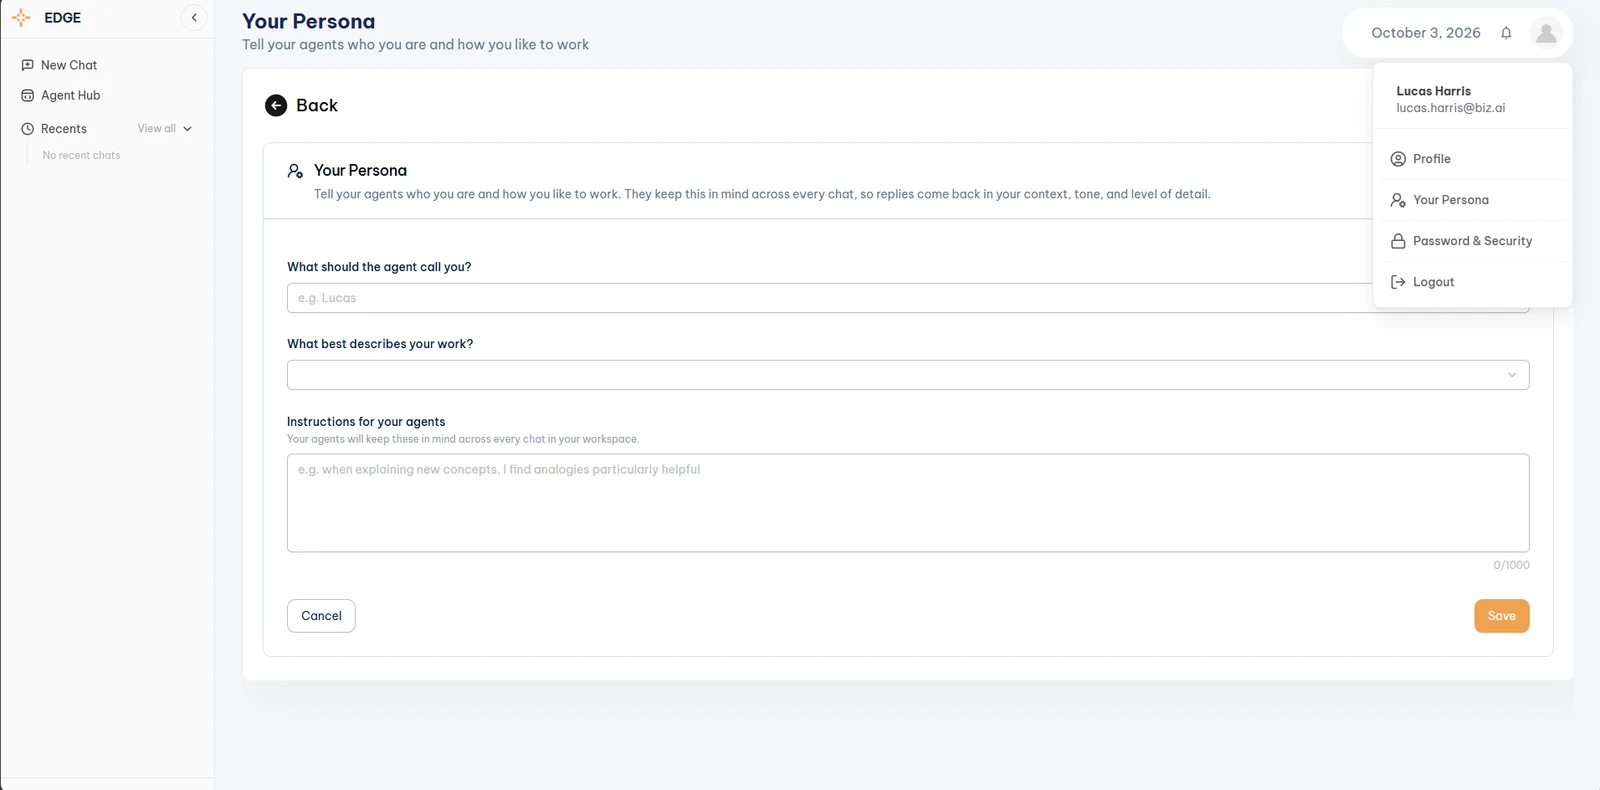
Set up your Persona with your role, context, and working preferences so agents can tailor responses to how you work. Every agent and workflow you use factors this in automatically. Nobody else can fill it in for you.
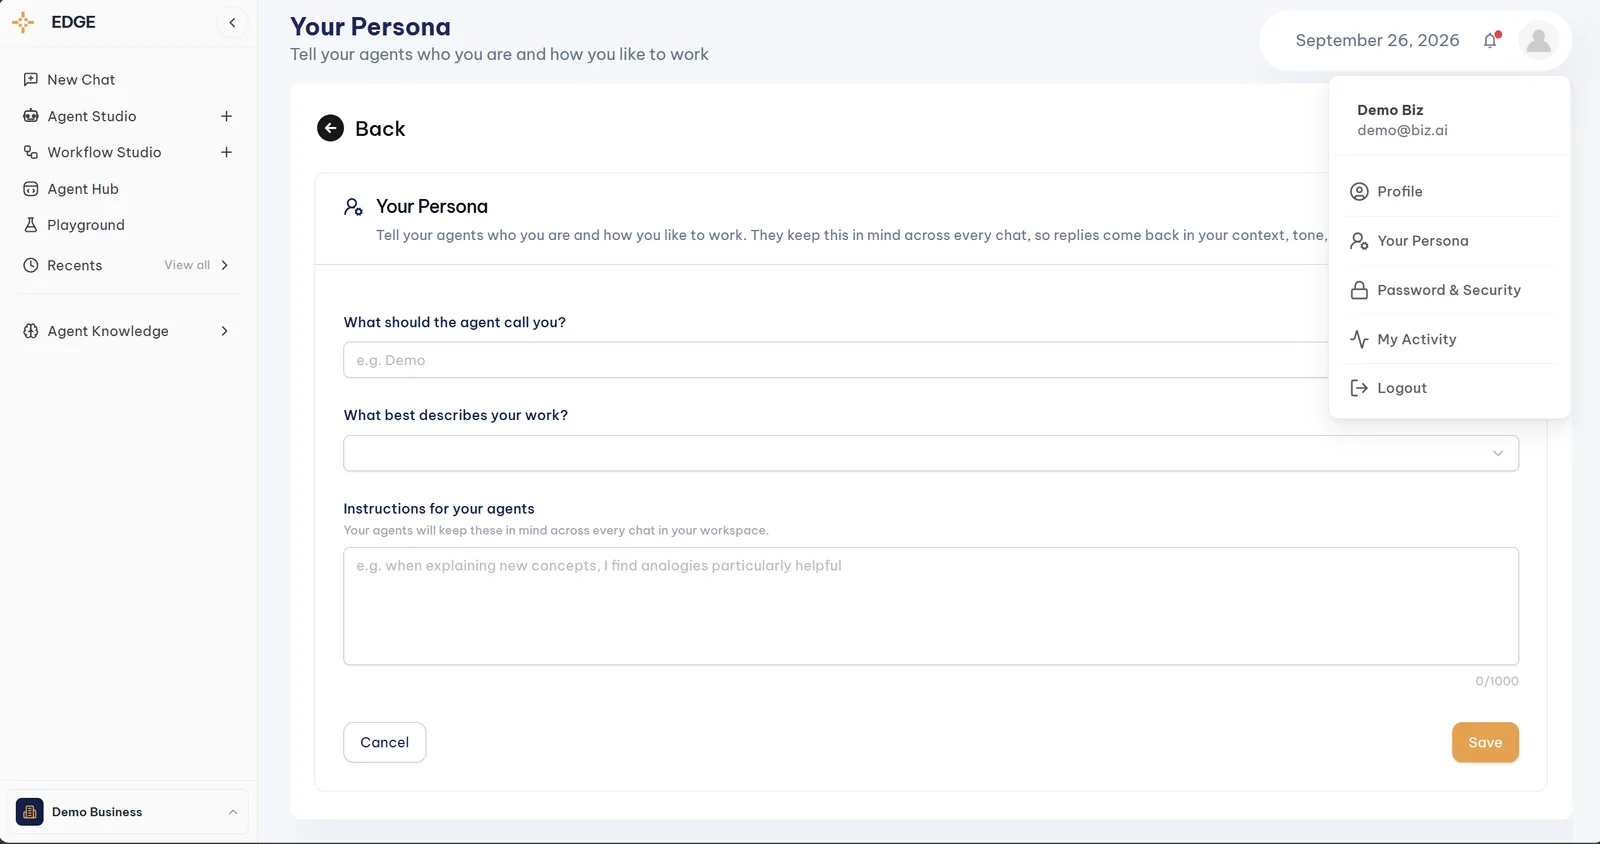
Avatar (top right) → Your PersonaConnect your work accounts
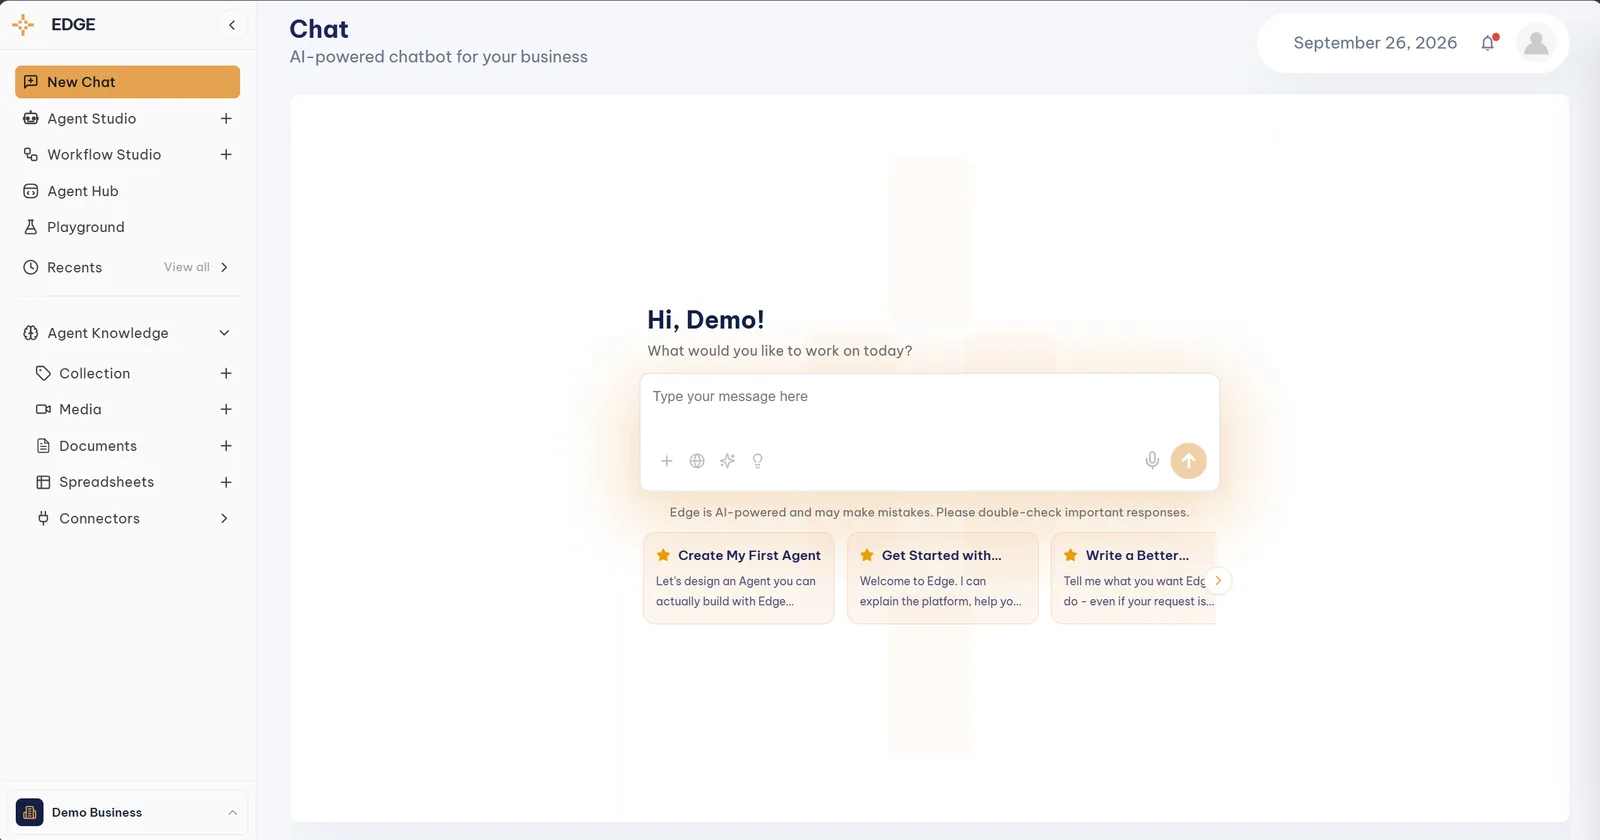
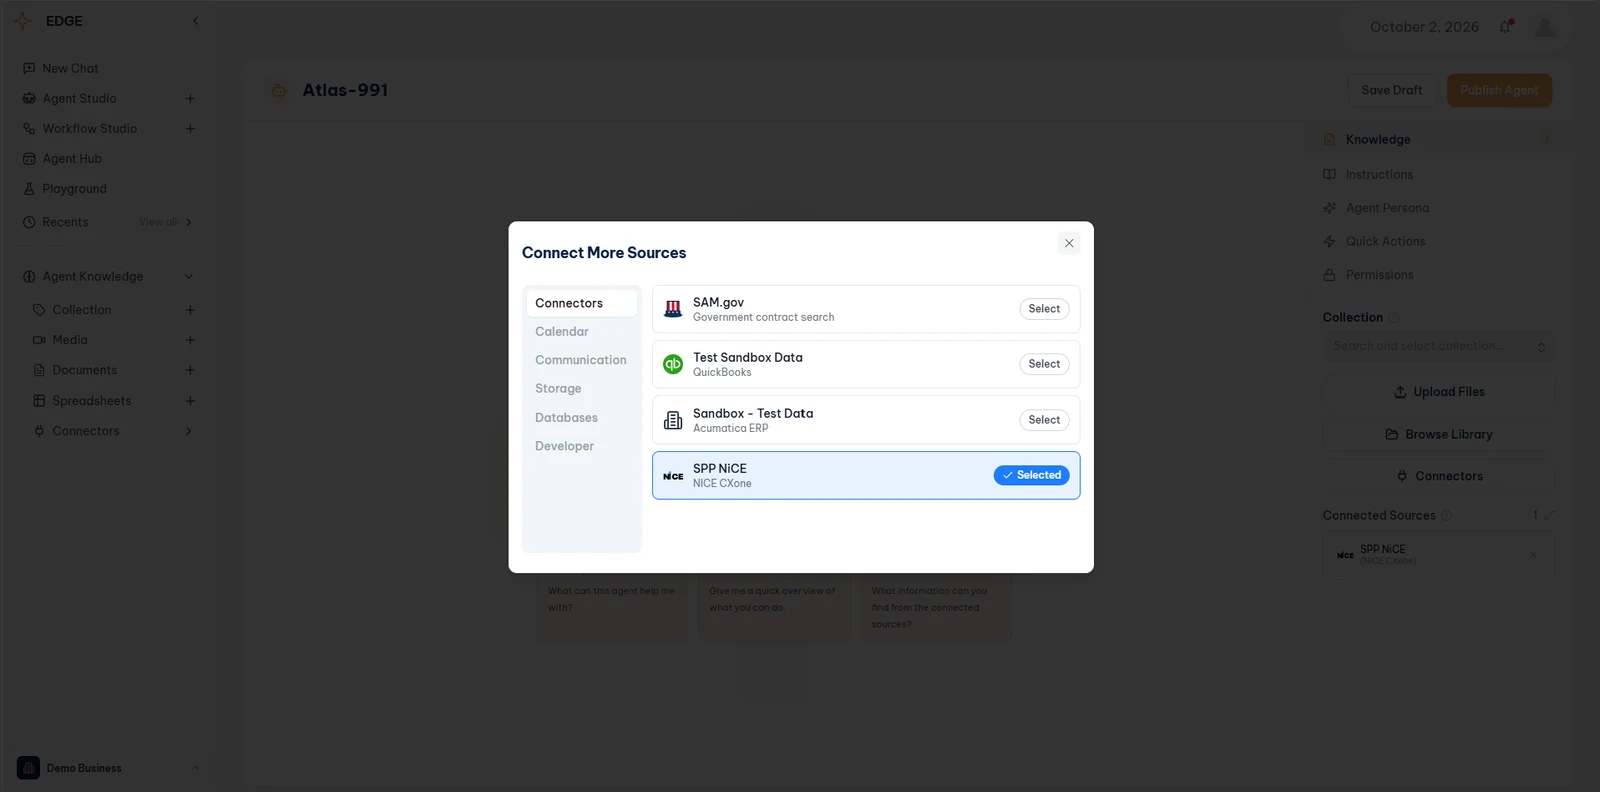
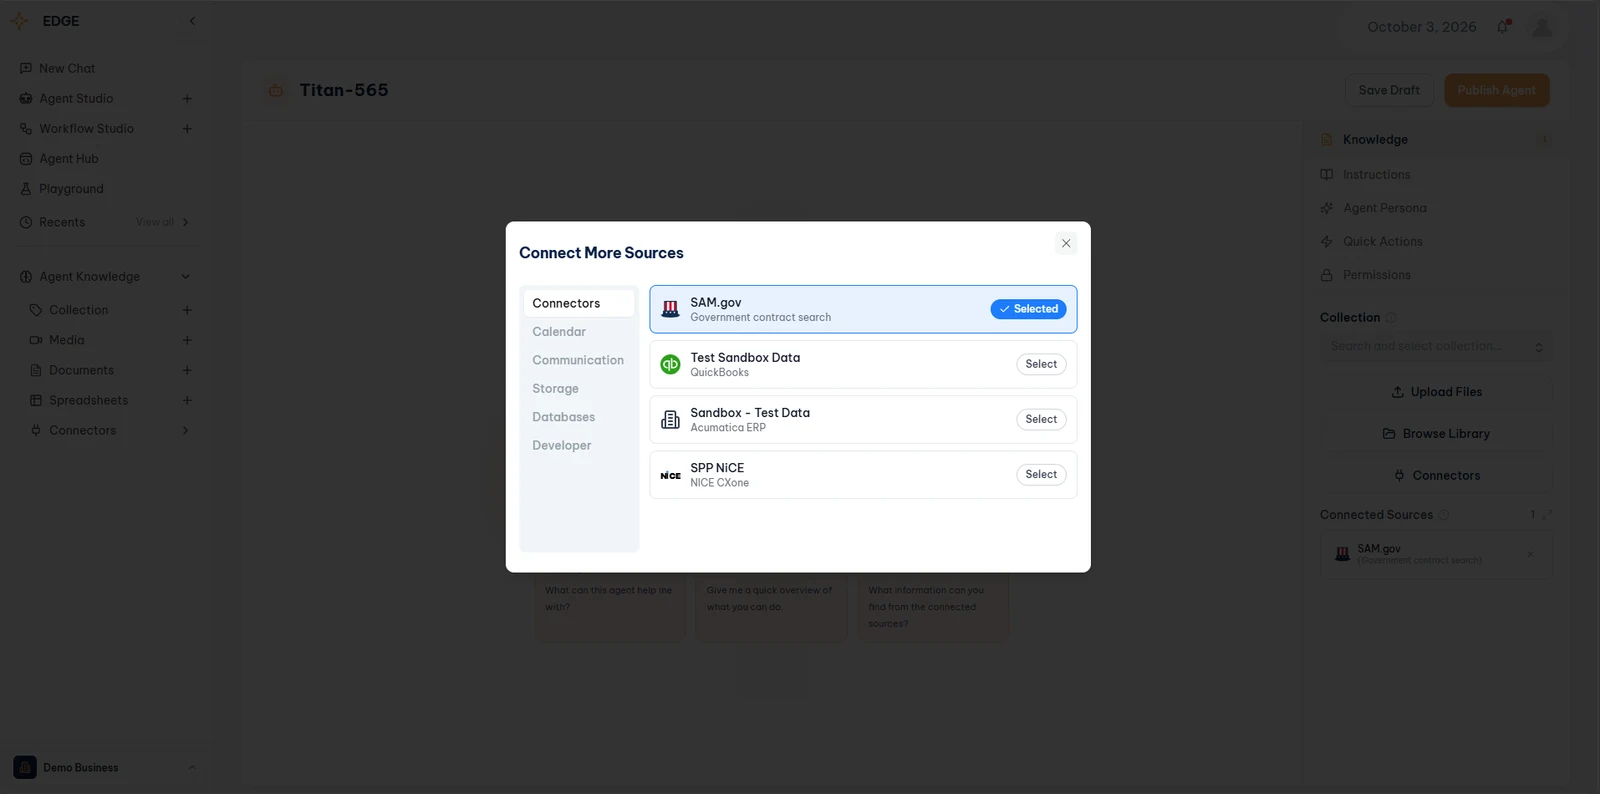
Connect the services you use so Edge can work with your authorized data and tools. Go to Agent Knowledge → Connectors, select a connector, and sign in with your account credentials.
NICE CXone
NICE currently requires a Connection Name, Access Key ID, and Access Key Secret instead of standard user sign-in. Contact Bharath for the credentials needed to connect your account. Performance AI is working with NICE to enable a standard authentication experience and will update the connection process once it becomes available.
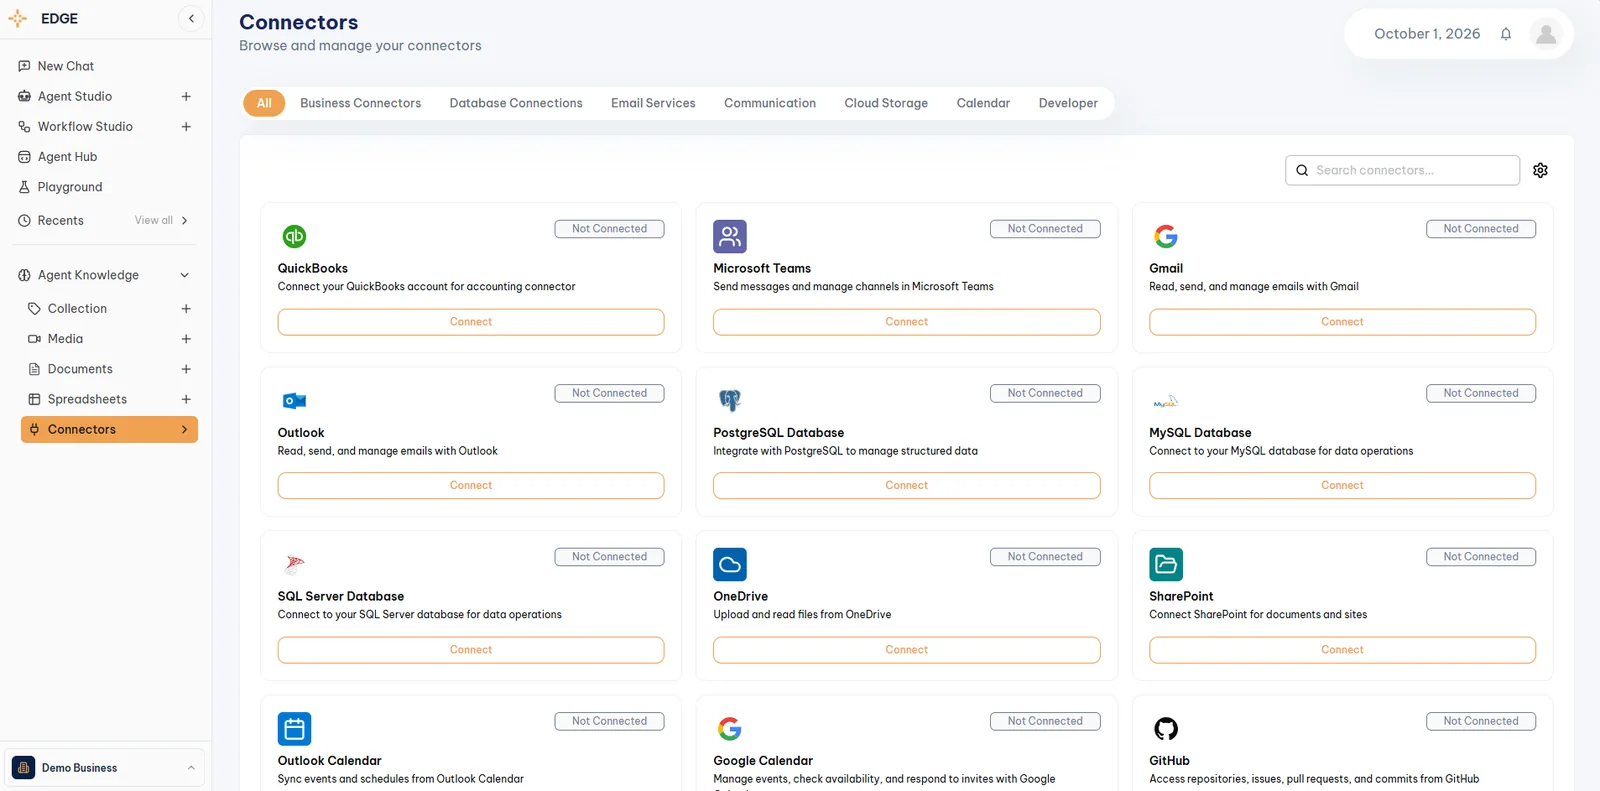
Agent Knowledge → Connectors → ConnectAdd your Agent Knowledge
Add the documents, media, and spreadsheets you want agents to use.
You can complete this now or add knowledge later as you create and configure agents.
Note
Edge provides format and file recommendations during upload to help optimize processing and agent performance.
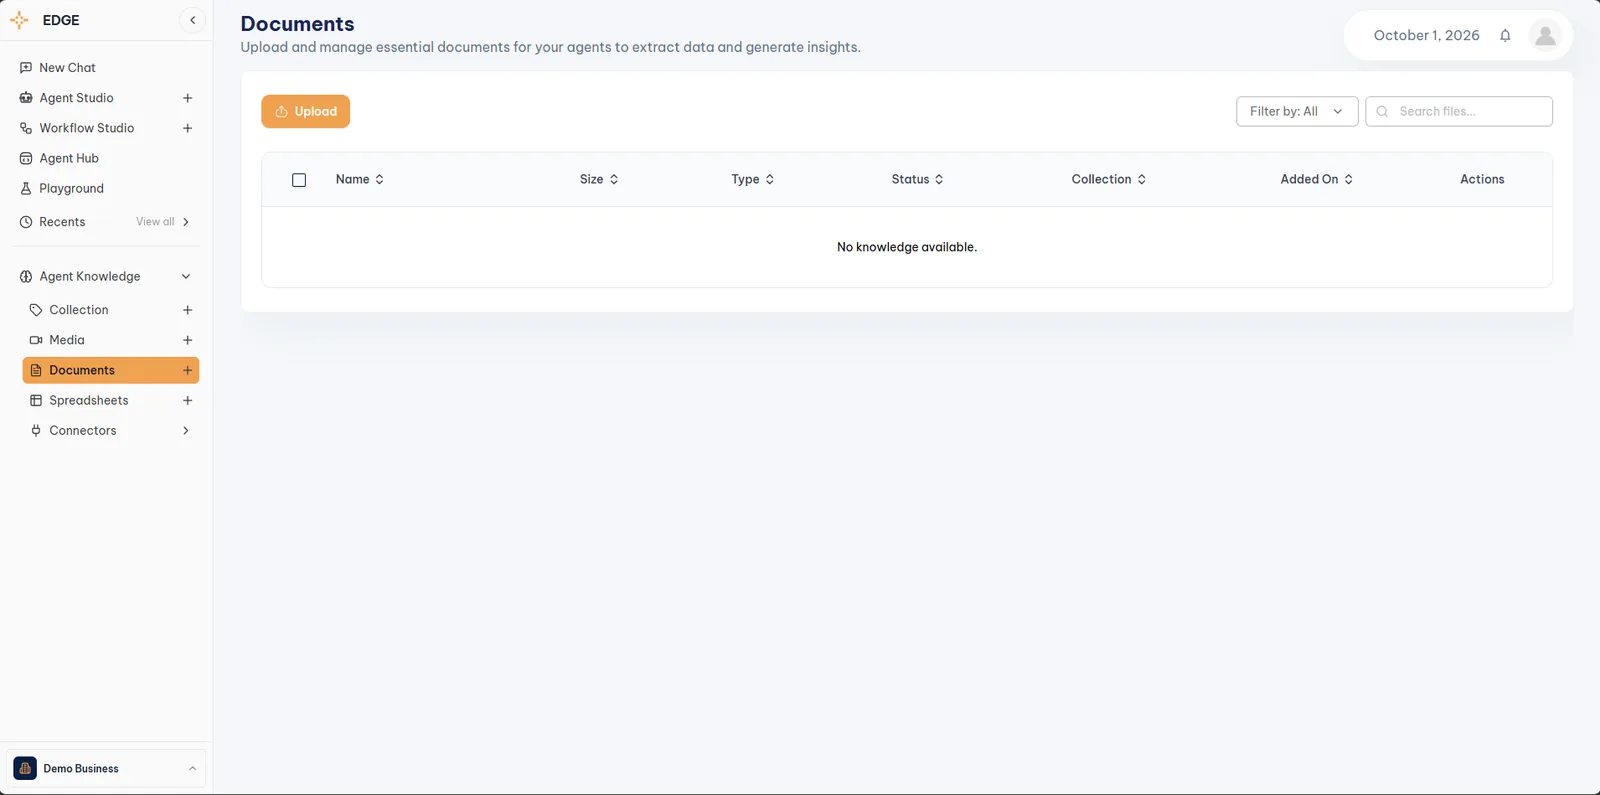
Agent Knowledge → Documents, Media, or Spreadsheets → UploadOrganize your Agent Knowledge
Organize related sources into Collections so you can add a complete set of knowledge to an agent at once.
You can create or assign a Collection as you upload a file or connect a source, or organize your knowledge later as needed.
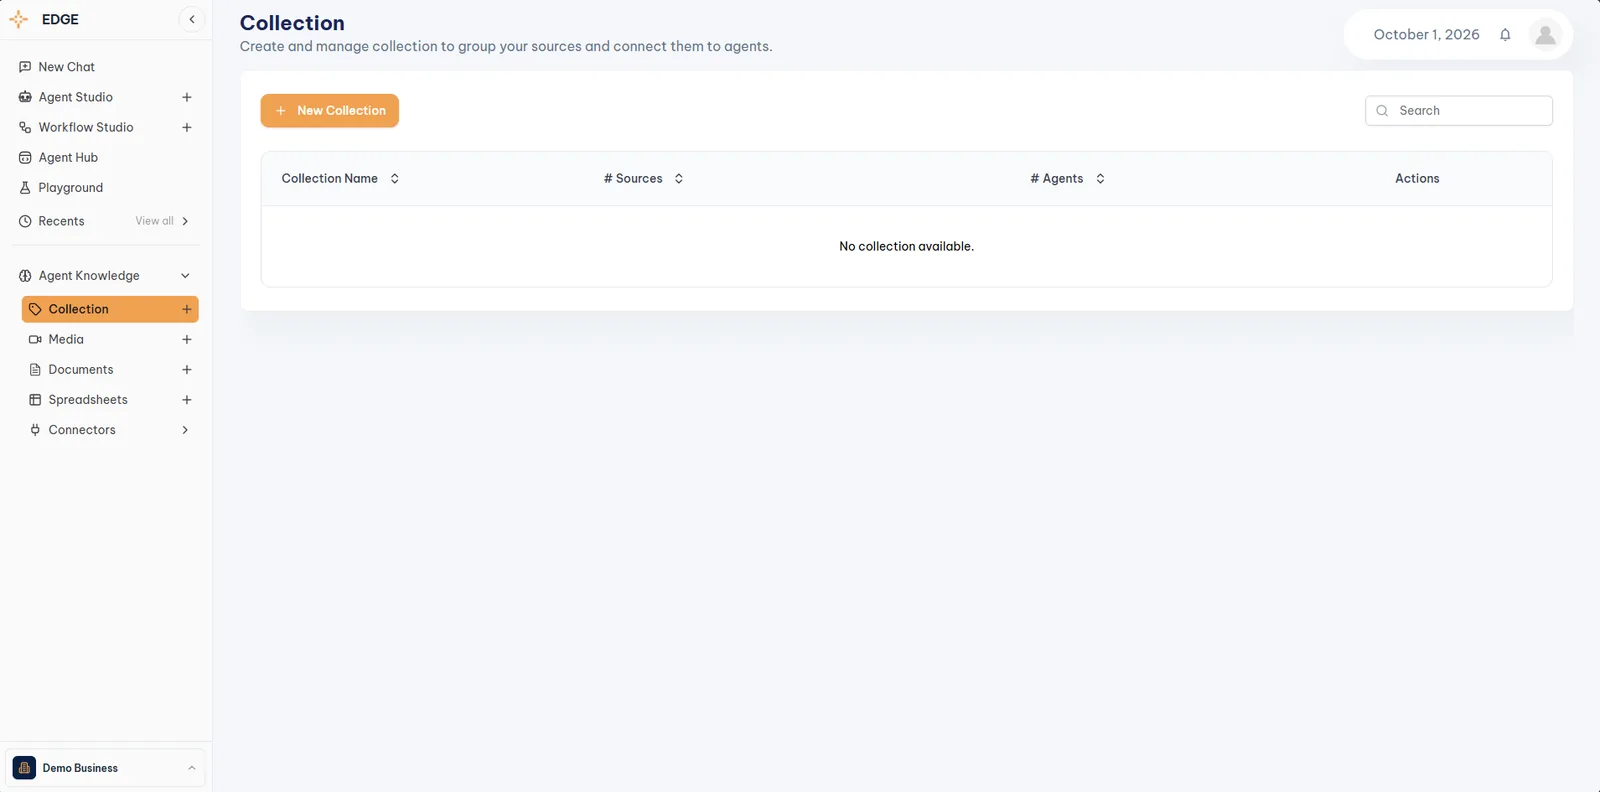
Agent Knowledge → Collection → New CollectionQuestions, or something not working as described? See Need help with a workflow? in Support.

![Agent Studio, Need inspiration on where to start? template dropdown with Executive Inbox & Calendar Briefing [Productivity] as the first option](img/briefing-template.webp)